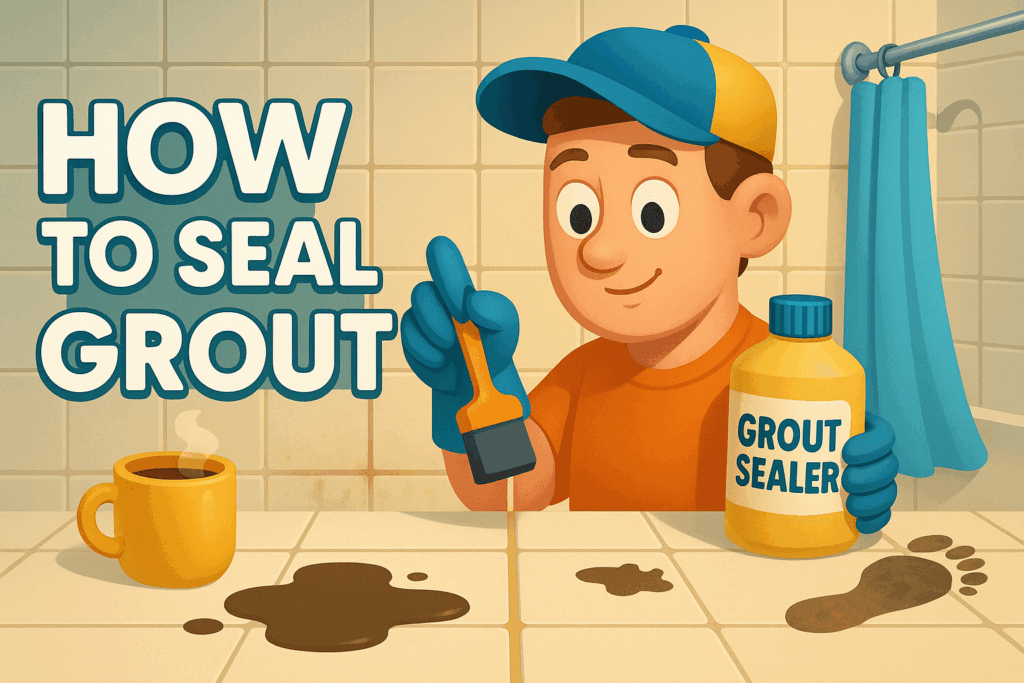
Grout looks grand when it’s new, doesn’t it? All crisp lines and bright tile, until a few months of shower steam, muddy footprints, and coffee spills turn it into a grubby mess. That’s where grout sealer steps in: a clear protective solution that soaks into the tiny pores of the grout and keeps water, oils, and stains from sinking in.
If you’ve never sealed your grout, you’re basically letting grime rent a holiday home between your tiles. No panic though, this guide walks you through the proper sealing process, minus the jargon and the back-breaking guesswork.
By the end, you’ll know exactly which sealer to choose, how to apply it, and how to keep that tile looking like it was just installed by a pro.
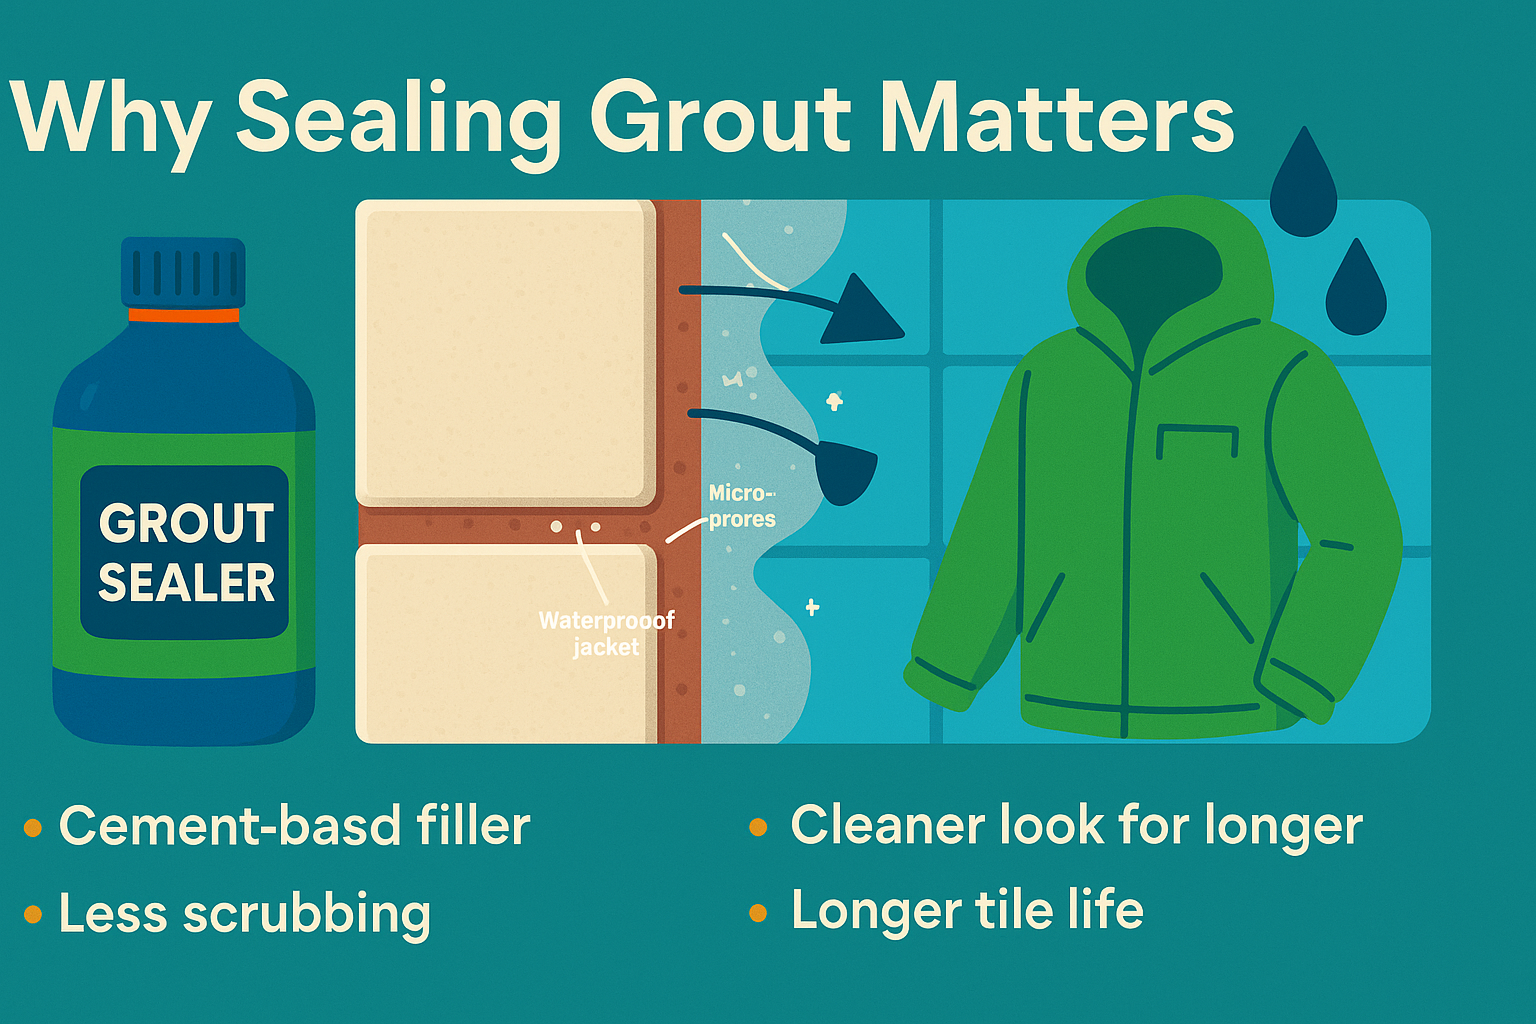
Why Sealing Grout Matters
Here’s the unvarnished truth: grout is thirsty. It’s a cement-based filler riddled with microscopic pores that love to drink up anything that lands on them, water, soap scum, red wine, you name it. Leave it unsealed and you’re practically inviting mildew, stains, and crumbling joints to the party.
A good grout sealer acts like a waterproof jacket. It keeps moisture and grime out while still letting the surface breathe, so the grout doesn’t crack or trap damp underneath. You’ll notice:
- Cleaner look for longer. Stains sit on top instead of soaking in.
- Less scrubbing. A quick wipe actually does the job.
- Longer tile life. Protected grout means less erosion and fewer repair calls.
At Masterful Carpet Cleaning, we’ve seen what happens when folks skip this step, blackened grout lines, mould spots, the whole horror show. Sealing it right the first time saves you time, money, and a heap of frustration.
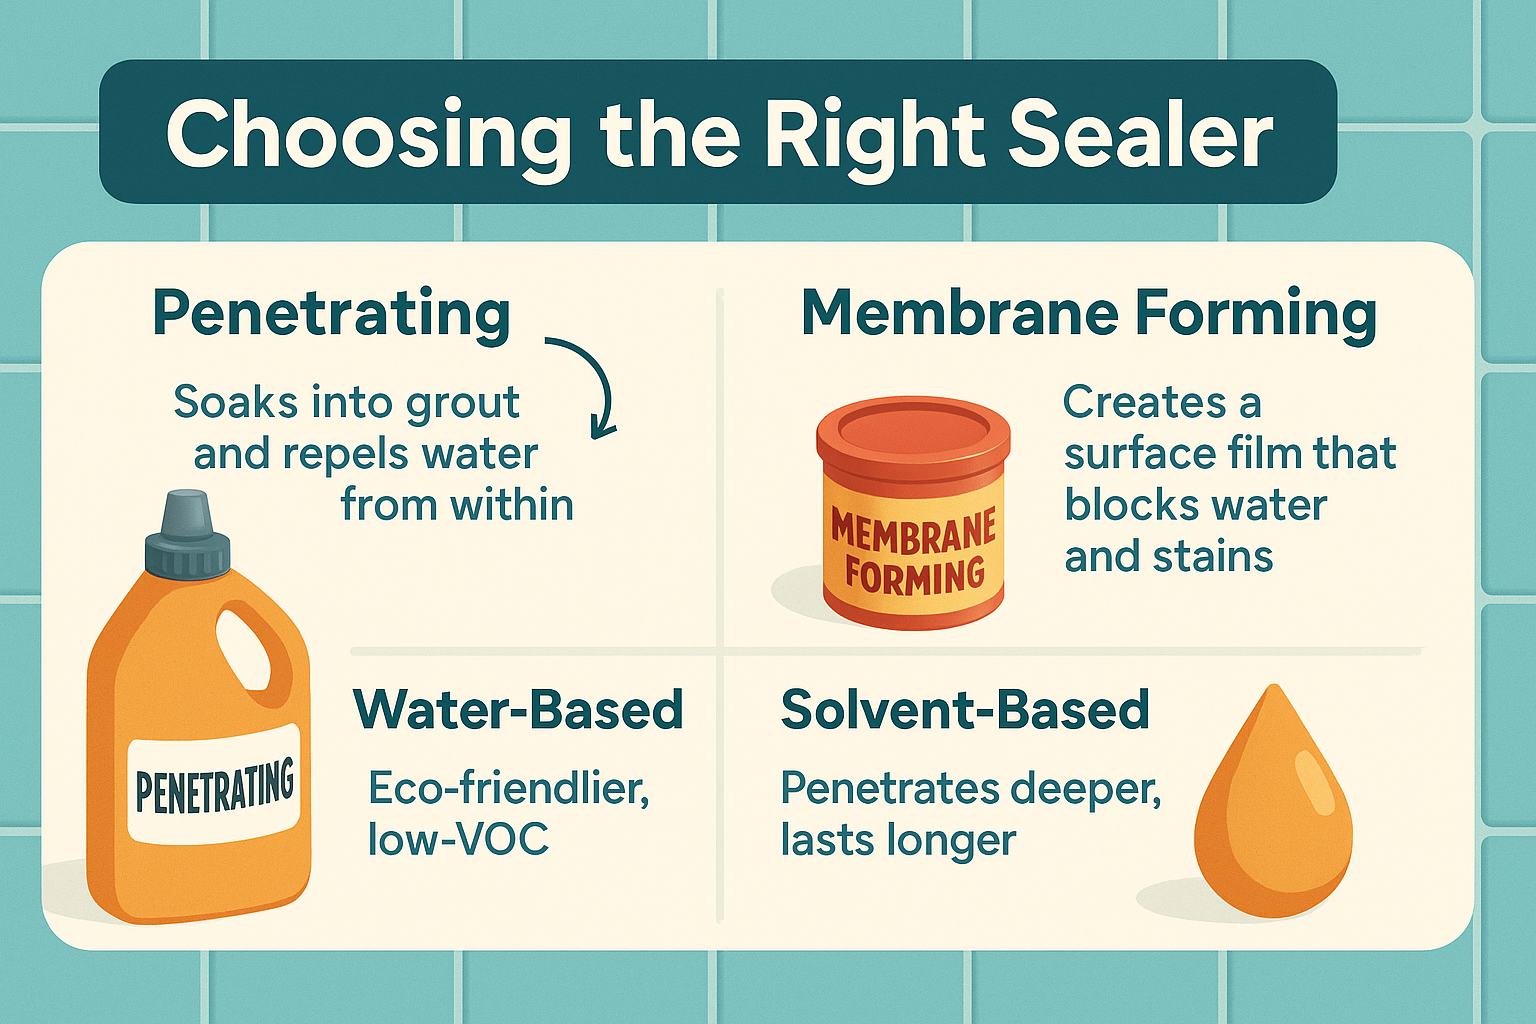
Choosing the Right Sealer
Picking a grout sealer isn’t one-size-fits-all; it’s more like choosing shoes for different terrain. The wrong fit can leave you slipping.
Penetrating vs Membrane Forming Sealers
| Type | How It Works | Best For | Watch Out For |
|---|---|---|---|
| Penetrating / Impregnating | Soaks into grout and repels water from within. | Kitchens, bathrooms, high-traffic areas. | Needs re-application every year or two. |
| Membrane-Forming | Creates a surface film that blocks water and stains. | Decorative grout lines, low-traffic zones. | Can trap moisture beneath if applied too thick. |
Water-Based vs Solvent-Based
- Water-based sealers are eco-friendlier and low-VOC, less smell, less risk to lungs.
- Solvent-based sealers penetrate deeper and last longer, but you’ll want serious ventilation. Think “open every window and turn the fan on high.”
Color-Enhancing Sealers Want the grout a shade darker or the tile colours to pop? A colour-enhancing sealer can make that happen. Always test a patch first, because once it’s darker, it’s staying darker.
Skip if Epoxy If you’ve got epoxy grout, you’re off the hook; it’s already non-porous. Clean it, admire it, move on.
Randy’s tip: Check the product label for “tile & grout safe,” and avoid anything promising “instant sealing miracles.” Good sealing takes patience, not magic spray.
Gather Your Gear
Before you start, line up your tools like you’re staging a mini renovation, because stopping mid-job to find a clean cloth is how accidents happen.
You’ll Need:
- Grout sealer (the one you’ve wisely chosen above)
- Foam brush, applicator bottle, or small roller
- pH-neutral cleaner and a bucket of warm water
- Microfibre cloths or soft rags
- Masking tape to guard tile edges
- Rubber gloves and good ventilation (seriously, crack those windows)
Safety First Even low-VOC sealers have a bit of aroma. Keep the area airy, wear gloves, and avoid sealing yourself into a corner, literally.
Pro Prep Note: If your grout’s been sealed before, do a quick water-drop test. Drop a bit of water on the grout; if it beads up instantly, it’s still sealed. If it soaks in within a few seconds, you’re ready for a new coat.
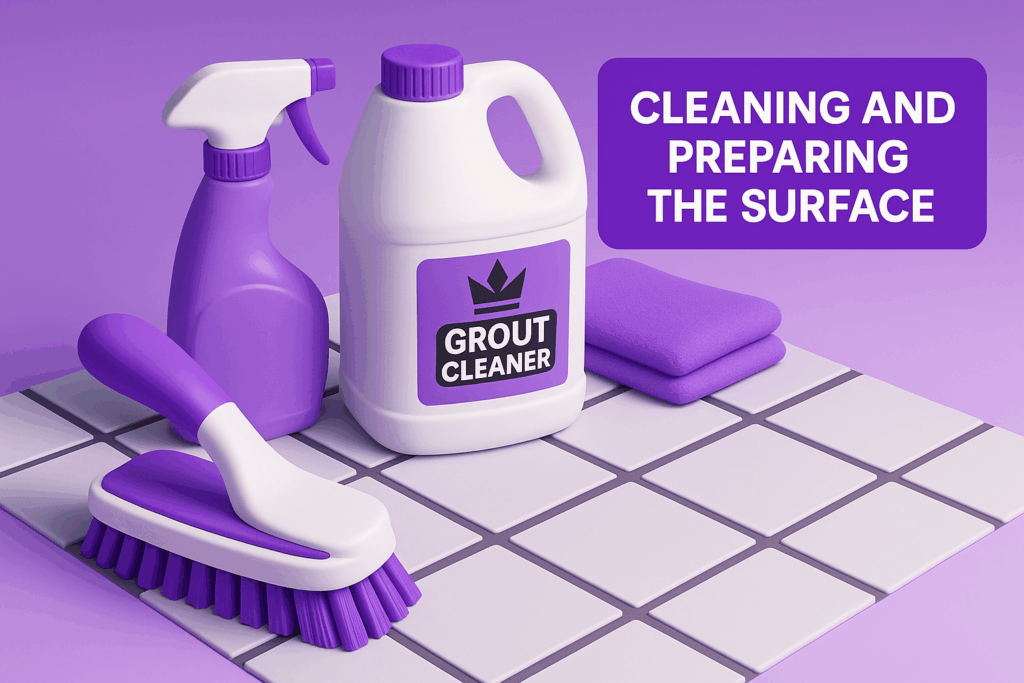
Surface Preparation
Here’s where the magic starts, not with the sealer, but with the cleaning. Sealer doesn’t hide dirt; it locks it in like bad wallpaper under fresh paint.
Step 1: Deep Clean Like You Mean It
- Use a pH-neutral cleaner (anything too acidic can eat your grout).
- Scrub with a soft brush or microfiber mop, no wire brushes or you’ll gouge the grout lines.
- Pay special attention to greasy kitchen grout and shower corners where mildew lurks.
Step 2: Rinse and Dry Once you’ve cleaned, rinse thoroughly to remove any soap film. Then – and this part’s non-negotiable – let it dry completely.
- Minimum: 24 hours.
- Ideal: overnight in a low-humidity environment.
If moisture’s still in the grout, the sealer won’t bond, and you’ll be right back at square one.
Step 3: Protect What’s Around Use masking tape along tile edges, baseboards, or trim to catch overspray or drips. A little prep saves a lot of regret later when you realize you’ve sealed half the wall.
Randy’s Tip: If you see white haze or chalky film before you start sealing, that’s mineral deposit buildup. Scrub it out now, sealing over it will make it permanent art.
Step-by-Step Application
Time to actually seal that grout. Find your zen, take a breath, and remember: even, not heavy is the motto.
Step 1: Test Before You Commit Apply the sealer to a small, hidden area first. Watch how it dries. If it darkens the grout more than you like, pick a different formula before doing the whole floor.
Step 2: Apply Evenly
- Use a foam brush, small roller, or applicator bottle.
- Work in small sections, a few square feet at a time.
- Keep the line wet for a few minutes so the grout can drink it in.
Step 3: Let It Absorb Give it 5-10 minutes (read your product’s label). Penetrating sealers absorb quickly; membrane types need a bit longer.
Step 4: Wipe Off Excess Grab your microfiber cloth and wipe the tiles in circular motions before the sealer dries on the surface. If you skip this, you’ll be buffing haze for days.
Step 5: Second Coat (Optional) If the grout drinks it up faster than a sponge, apply a second light coat after the first has set. Two thin layers beat one drippy one every time.
Step 6: Hands Off! Let the area cure for 24 to 72 hours – no water, no walking, no cleaning. You want that sealer to settle, harden, and become part of the grout, not a casualty of impatience.
Randy’s Corner Note: “Seal slow, finish fast.” The extra few minutes of care here can add years to how long your grout stays bright and sealed.
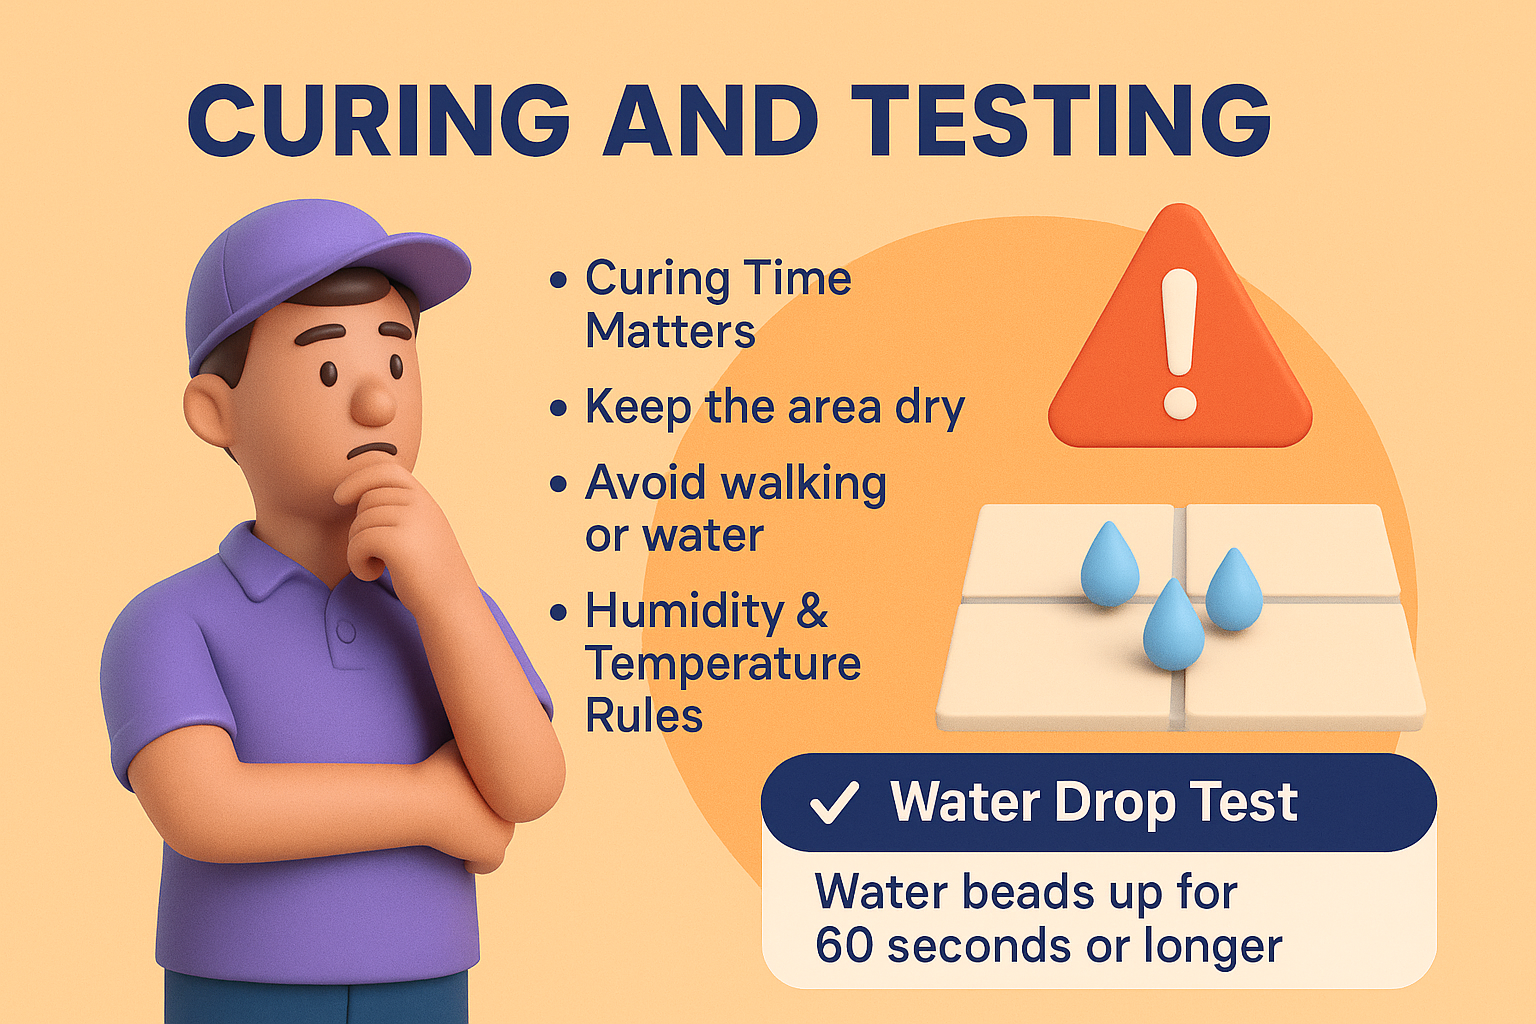
Curing and Testing
Now comes the part nobody likes: the waiting. But patience here separates the pros from the grout-grievers.
Curing Time Matters Most sealers need 24 to 72 hours to fully cure. That’s the chemistry doing its thing, forming a hydrophobic barrier inside the grout.
- Keep the area dry.
- Avoid walking on floors or running water over shower tiles.
- If you absolutely must enter the room, socks only and tip-toe like a cat burglar.
Humidity & Temperature Rules Warm and dry is best. If it’s cold or humid, expect the cure to take longer. Fans help, but skip heaters, they can bake the sealer too fast and cause streaks.
Water Drop Test (The Moment of Truth) After curing, flick a few drops of water onto the grout:
- ✅ If the water beads up for 60 seconds or longer, you nailed it.
- ⚠️ If it soaks in quickly, your grout’s still thirsty, apply another thin coat.
Keep a rag handy; if any water leaves a ring, you’ve found your next reseal spot.
Randys Tip: Write the date on a bit of tape under your sink. That way, when you wonder “Did I seal this last year or in another lifetime?” you’ll know.

Maintenance and Reapplication
Good news: once sealed, grout doesn’t demand much, just a bit of routine love to keep it looking sharp.
Everyday Care
- Clean with a pH-neutral cleaner and warm water.
- Skip vinegar, bleach, or anything acidic, they chew through sealer like soda on enamel.
- Dry floors after mopping to stop standing water from sneaking into seams.
Check Once a Year Perform the water-drop test annually. If the beads flatten fast, it’s reseal time.
Reapplication Intervals
| Area | Traffic/Moisture | Reseal Every |
|---|---|---|
| Kitchen Floors | Medium traffic | 18-24 months |
| Showers/Bathrooms | Constant moisture | 6-12 months |
| Entryways/Mudrooms | Heavy grit & water | 12-18 months |
| Low-Use Rooms | Minimal contact | 3 years |
A quick reseal takes less time than a deep clean, and it saves you from replacing grout later.
Pro Maintenance Move After resealing, buff the tiles with a dry microfiber cloth for that just installed glow. It’s the finishing touch that makes the whole job look professional.

Common Mistakes & Fixes
Even the most enthusiastic DIYer can trip up here. The good news: every common blunder has a simple fix.
1. Leaving Residue on the Tiles If you don’t wipe excess sealer before it dries, you’ll get that cloudy haze. → Fix: Buff the haze off with a clean microfiber cloth and a bit of pH-neutral cleaner. For stubborn film, try a 1:1 water-vinegar mix (but only on glazed tile, never on natural stone).
2. Skipping Dry Time Applying sealer to damp grout locks moisture inside. → Fix: Strip the sealer with a manufacturer-approved remover, let the grout dry for 24 hours, then reseal.
3. Poor Ventilation Working in a steamy bathroom without airflow traps solvent fumes. → Fix: Open windows, run fans, and give yourself some breathing room, literally.
4. Wrong Sealer on Epoxy Grout Epoxy doesn’t absorb, so the sealer just sits there. → Fix: Wipe it off immediately with a damp cloth before it cures.
5. Rushing the Cure Walking on freshly sealed floors or using the shower too early ruins the barrier. → Fix: Re-clean the grout, reapply a thin coat, and promise yourself 72 hours of patience next time.
FAQ
- Do I need to seal new grout? → Yes—after it cures for 48-72 hours.
- Can grout sealer change color? → Some darken grout slightly; always test a hidden area first.
- What if the sealer smells strong? → Choose a low-VOC, water-based version and keep the air moving.
When to Call the Pros
DIY sealing is fine for a small kitchen or a hallway, but when you’re staring down a shower, a full tile floor, or years of built-up grime, it’s time to phone the cavalry.
Professional cleaners use industrial grade penetrating sealers and high-pressure extraction tools that reach deep into grout pores. They can strip old sealers, remove stubborn mildew, and reseal in a fraction of the time.
At Masterful Carpet Cleaning, we handle grout the way chefs handle knives, sharp, efficient, and with respect. When restoring a bathroom’s sparkle or protecting a new tile install, we’ll leave your grout sealed, safe, and smugly waterproof.
Ready to skip the fumes and the floor crawling? 👉 Book your grout sealing service today and let the experts take over.
If you remember only three things, make them these:
- Prep properly. Clean and dry grout before you even think about sealing.
- Apply patiently. Two light coats and 72 hours of curing beat any “one-and-done” shortcut.
- Maintain wisely. Gentle cleaners, quick water-drop tests, and timely resealing keep grout looking new for years.
Seal it right once, and you’ll spend the next few years admiring your tile instead of scrubbing it. – Masterful Carpet Cleaning: protecting your floors, one grout line at a time.
Author