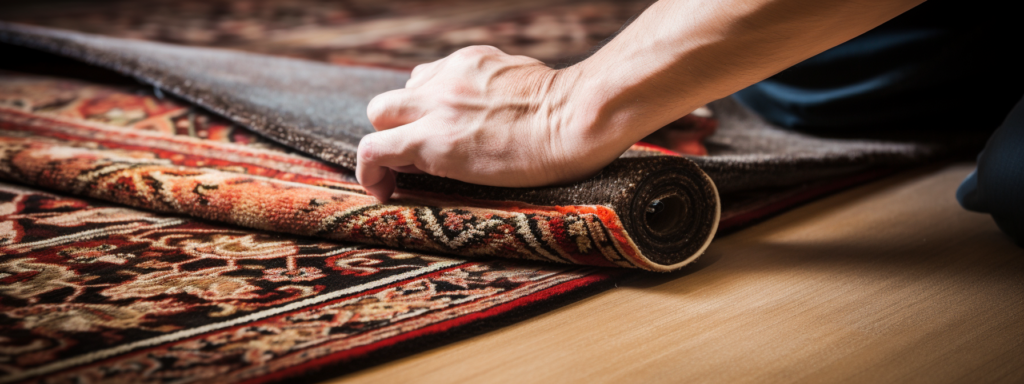
Carpet tears, while frustrating, are not the end of the world for your beautiful flooring. The ability to repair these damages yourself can be empowering and cost-effective.
The process requires patience, the right tools, and a bit of know-how, but it’s certainly within the grasp of most DIY enthusiasts.
This guide will walk you through the necessary steps to repair carpet tears, ranging from small fixes to larger patches, ensuring your flooring regains its pristine look.
Tools and Materials: The Foundation of Successful Repair
Before beginning the repair process, it’s important to assemble the right tools and materials. For small tears, carpet adhesive or double-sided carpet tape is key.
For larger repairs, a carpet patch, utility knife, scissors, and a carpet seam roller are essential. Don’t forget an iron for carpets with melted fibers and a carpet seam iron for extensive tears.
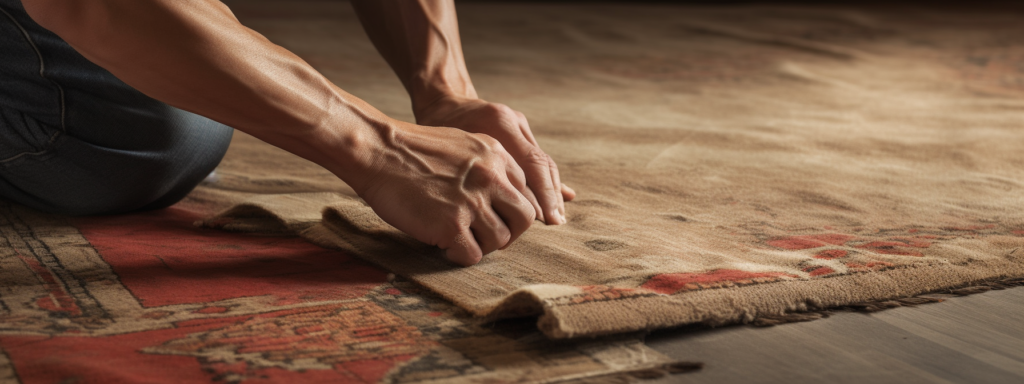
Assessing the Damage: The First Critical Step
The initial phase in carpet repair involves assessing the damage. Is the tear small or large? Is it along a seam or in the middle of the carpet?
This assessment is important as it determines the repair method. For minor tears, adhesive methods are sufficient, but larger tears might require patching.
Repair Methods: Addressing Various Types of Tears
For small tears, a straightforward approach using carpet adhesive or tape is effective. This involves cleaning the area, applying adhesive, pressing the edges together, trimming any excess, and allowing it to dry.
Larger tears require a more complex patching process. This includes preparing a matching carpet patch, removing the damaged section, positioning and securing the patch with heat and adhesive, and trimming for a seamless finish.
Finishing Touches: Blending and Admiring
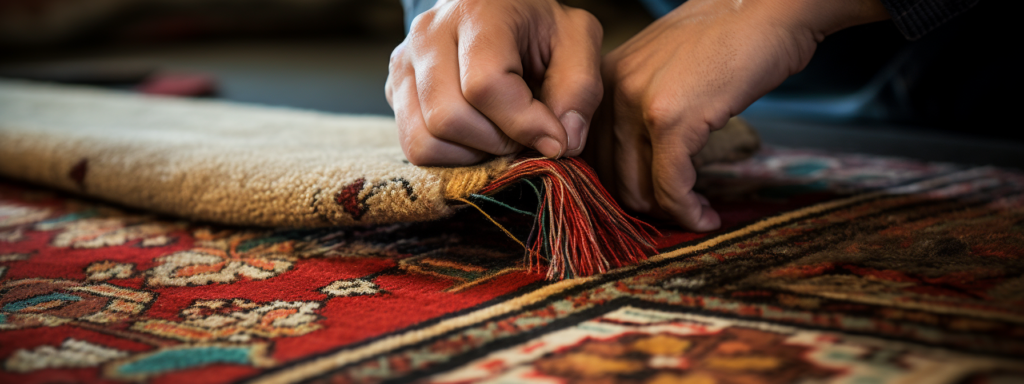
The final step in carpet repair is blending the seams of the patch to ensure they align with the surrounding carpet. This careful alignment makes the repair less noticeable.
After completing the repair, it’s important to take a moment to appreciate your work. The seamless blend and smooth feel under your hands signify a job well done, allowing your carpet to retain its aesthetics and functionality for years to come.
Repairing carpet tears at home is a practical and fulfilling DIY project. With the right tools, materials, and a step-by-step approach, you can effectively address both small and large tears.
This guide not only helps in restoring your carpet but also empowers you with skills that enhance the longevity and appearance of your flooring.
Assessing the Damage: DIY Carpet Repair
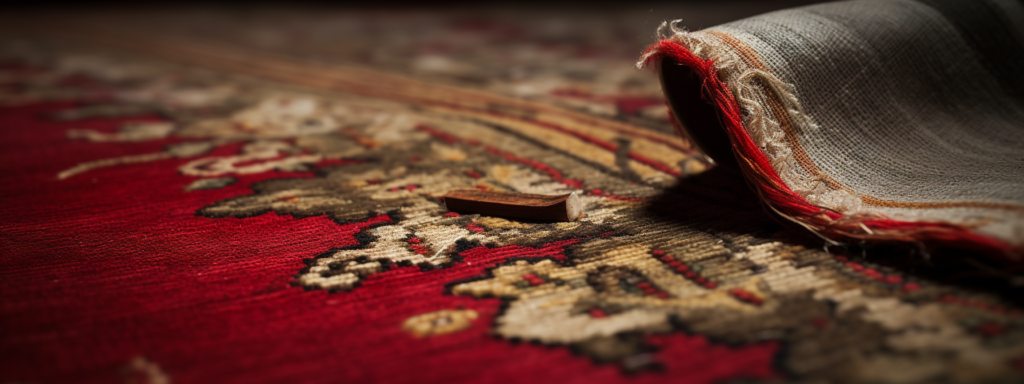
The initial and fundamental step in DIY carpet repair is a thorough assessment of the damage.
This involves determining the size, shape, location, and any underlying issues of the tear. The extent of the damage significantly influences the repair approach.
- Size: The size of the tear is pivotal in choosing the repair method. Smaller tears, typically less than an inch in diameter, are usually manageable with DIY techniques. Conversely, larger tears might necessitate professional intervention.
- Shape: The tear’s shape affects the complexity of the repair. While straight-edged tears are easier to mend, irregular or jagged edges present more challenges. The tear’s shape can affect both the aesthetic outcome and the structural integrity of the repair.
- Location: The tear’s location within the carpet influences both the repair approach and the necessity for a seamless finish. Tears in high-traffic areas or visible parts of the room require careful attention to detail to maintain the carpet’s aesthetic appeal.
- Underlying Damage: It’s imperative to inspect for any damage beyond the carpet, such as to the padding or subfloor. If these areas are compromised, additional repairs or replacement might be required, adding complexity to the repair process.
Preparing for Repair
Evaluating Carpet Condition
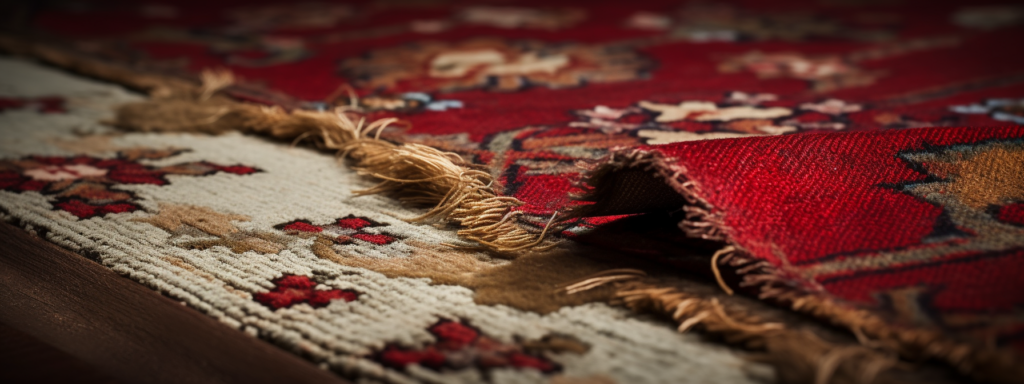
Before proceeding with the repair, evaluate the condition of the carpet fibers around the damaged area.
If they are frayed, discolored, or weak, consider replacing a larger portion of the carpet or consulting a professional. This step is important to ensure that the repair does not lead to further damage or diminish the carpet’s overall appearance and longevity.
Stain Assessment
In addition to physical damage, assess the carpet for any stains associated with the tear. Stain removal might be necessary before commencing the repair process to ensure a clean and uniform appearance after the repair is completed.
Final Considerations Before Repair
Through this comprehensive evaluation, you can ascertain whether the carpet tear is within the realm of a feasible DIY repair or if professional help is warranted.
This assessment is not only about the physical aspects of the tear but also about ensuring that the repair process aligns with the overall condition and value of the carpet.
Assessing Repair Feasibility
Thoroughly assessing the damage is a critical first step in the DIY carpet repair process. It involves careful consideration of various factors, including the size, shape, location of the tear, the condition of the surrounding carpet, and any underlying issues.
This evaluation helps in determining the most appropriate repair method and preparing for a successful restoration of your carpet’s aesthetics and functionality.
Tools and Materials: Essential for DIY Carpet Repair
Carpet Adhesive or Tape
Carpet adhesive and double-sided carpet tape are fundamental for repairing smaller tears. They provide a quick and efficient method to bond the torn edges, ensuring durability and neatness in the repair.
Utility Knife and Scissors
A utility knife is indispensable for cutting out damaged sections with precision, while scissors are essential for trimming and fine-tuning the repair area, ensuring a seamless blend with the surrounding carpet.
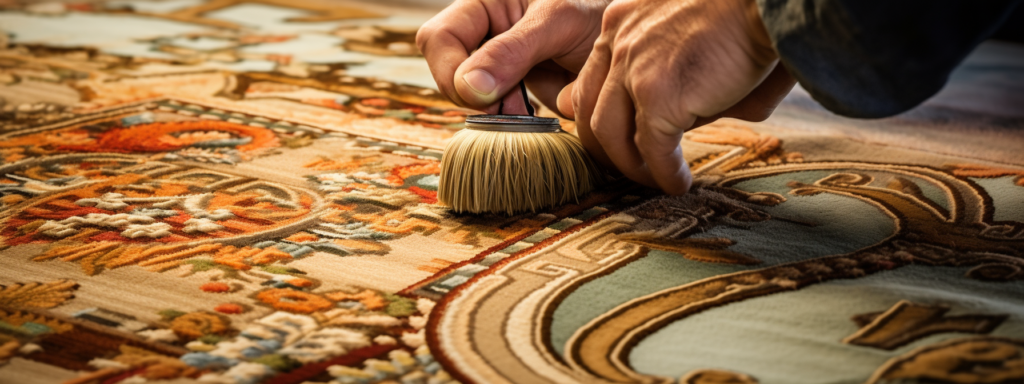
Carpet Seam Roller
The carpet seam roller is needed for pressing down on the patched area. It aids in achieving proper adhesion and ensures the seams between the replacement piece and the surrounding carpet appear seamless.
Iron and Carpet Seam Iron
For carpets with melted fibers or larger tears, an iron, and a carpet seam iron are necessary. These tools help blend the fibers of the patch with the rest of the carpet, creating a visually coherent area.
Donor Carpet
A donor carpet matching the original in color, pattern, and texture is vital for a seamless repair, particularly for larger tears. This ensures that the patch is indistinguishable from the rest of the carpet.
Measuring Tape and Permanent Marker
Measuring tape helps in assessing the size and dimensions of the damage accurately, and a permanent marker is recommended for marking the area to be repaired, guiding precise cuts for a seamless repair.
Carpet Cutter
A carpet cutter, similar to a cookie cutter for carpets, is used for creating perfect circular patches, particularly useful for burns and tears. This tool ensures the replacement piece fits flawlessly into the damaged area.
Seam Sealer
Seam sealers and liquid adhesives are used not only for repairing tears but also as preventative measures against further wear and tear. They are ideal for ensuring the longevity and durability of the repair.
Additional Tools
Other tools like a flat-edge screwdriver, a carpenter’s framing square, and heavy objects to set on the patch for a few hours can be necessary depending on the repair’s complexity.
Optimal Use and Selection
Tool Selection and Usage
The correct selection and usage of these tools are paramount. For example, using a utility knife and scissors requires caution and precision to avoid further damaging the carpet.
Similarly, applying adhesive and using the seam roller necessitates a delicate balance to ensure a smooth finish without over-saturating the carpet fibers.
Consideration for Beginners
For those new to DIY carpet repair, a carpet patch kit containing essential tools and materials can be a time and cost-effective choice. These kits simplify the process by providing all the components in one package.
Gathering the right tools and materials is an imperative step in the DIY carpet repair process. It ensures that the repair is not only effective but also blends seamlessly with the rest of the carpet, maintaining its aesthetic appeal and functionality.
By carefully selecting and using these tools, DIY enthusiasts can successfully tackle carpet tears, restoring their carpets to their original condition.
Step-by-Step Repair Guide: DIY Solutions for Carpet Tears
Repairing Small Tears with Adhesive
Initial Preparation
- Clean the Area: Start by thoroughly cleaning the torn area, and removing any dirt, debris, or loose fibers. This step is important to ensure the adhesive bonds effectively.
Applying Adhesive
- Apply Adhesive: Carefully apply carpet adhesive or double-sided carpet tape to the edges of the tear. Spread it evenly, avoiding excessive amounts that might seep through the carpet fibers.
Securing the Tear
- Press and Hold: Firmly press the torn edges together and hold them in place for a few minutes. Using a carpet seam roller here can ensure a secure and smooth bond.
Finishing Touches
- Trim Excess Fibers: Neatly trim any loose or frayed fibers around the repaired area with scissors to create a clean finish.
- Drying Time: Allow sufficient drying time for the adhesive, avoiding any pressure on the area until it’s completely dry.
Patching Larger Tears
Preparing the Patch
- Prepare the Patch: Cut a carpet patch that matches the torn area in pattern and size, ensuring it’s slightly larger than the tear for a seamless repair.
- Remove Damaged Section: Use a utility knife to cut out the damaged carpet section, following the tear’s shape for a precise cut.
Installing the Patch
- Position the Patch: Place the patch over the cut-out area, ensuring alignment with the surrounding carpet pattern.
- Apply Heat: If needed, use an iron to blend the patch’s fibers with the rest of the carpet, especially for melted fibers.
Securing the Patch
- Secure the Patch: Utilize a carpet seam iron to firmly bond the patch to the underlying carpet.
- Trim Excess Fibers: Carefully trim any uneven edges or excess fibers for a seamless finish.
- Drying Time: Allow adequate time for the patch to dry and set, according to the manufacturer’s instructions.
Additional Tips for Specific Repairs
Repairing Burn Marks or Melting
- Cut out Damaged Portion: Start by removing the burnt or melted portion of the carpet.
- Measure and Cut Replacement: Transfer the measurements onto a carpet patch or remnant and cut accordingly.
- Install the Patch: Position the carpet patch over the area and press down firmly.
Minor Repairs
For minor tears or punctures, the process can be simplified. Apply the adhesive directly under the loose threads, press down, and allow it to dry.
Successfully repairing carpet tears at home requires a methodical approach, using the right tools and materials.
Whether it’s a small tear or a larger one, following these step-by-step instructions can lead to a seamless and effective repair, restoring the carpet’s appearance and functionality.
Troubleshooting Common Issues in DIY Carpet Repair
When undertaking DIY carpet repair, it’s important to anticipate and effectively address common issues.
Patching Small Damages
- Issue: Holes, Tears, Burns
- Solution: Use a matching carpet “plug” for the damaged area. This could be sourced from remnants or inconspicuous areas of your home. The repair process involves cutting out the damaged spot and replacing it with the plug, ensuring the direction of the carpet nap matches. This method works best with plush-type carpets. For carpets with patterns or textures, extra care is needed for alignment.
Handling Wet Carpet
- Issue: Water Damage
- Solution: Act quickly to prevent stretching, discoloration, or mold. For minor wet areas, pull back the carpet and remove the soggy pad. Use fans to dry the carpet. Replace the pad with a similar type, securing it with adhesive or staples, depending on the subfloor. Finally, reattach the carpet, stretching it as needed.
Reattaching Loose Carpet from Thresholds
- Issue: Carpet Pulling Away from Metal Threshold
- Solution: If the edge is fraying, act swiftly. Remove the old threshold and trim any damaged carpet edge. Install a new threshold, ensuring it’s properly aligned and secured. Reattach the carpet using a knee kicker to stretch it towards the threshold, securing it in place. This is vital to prevent further fraying or damage.
Successful DIY carpet repair hinges on understanding these common issues and applying the right techniques.
By integrating these solutions, the longevity and appearance of your carpet can be effectively maintained.
Maintenance Post-Repair
Maintaining your carpet after repair is integral to ensure its longevity and appearance.
Regular Vacuuming
- Frequency and Techniques: Vacuum entrance areas and high-traffic areas twice a week, and the rest of the carpet at least weekly. For best results, adjust the vacuum’s height for effective cleaning. Make one quick pass over low-traffic areas and two slow passes over high-traffic ones. Replace filters and bags regularly for optimal performance.
Choosing the Right Pad
- Impact on Carpet Life: The quality of the carpet pad plays a significant role. A good-quality pad should be 3/8 to 1/2 inch thick with a density/weight rating of at least 6 lbs. For high-traffic areas, a thinner pad with a density of 8 lbs. or more is recommended.
Professional Cleaning
- Optimal Methods: Professional hot-water extraction is recommended for synthetic carpets. Hiring a professional every year or two, complemented by personal cleaning between professional services, is ideal. Ensure the professional service includes comprehensive care like vacuuming, spot removal, preconditioning, and deodorizing.
Reactive Cleaning
- Addressing Spills and Stains: Treat stains and high-traffic areas by pre-treating with a detergent mix. Use appropriate chemicals like hydrogen peroxide, enzymes, or synthetic rinses depending on the type of stain. For polypropylene carpets, bleach can be used safely, but it should be avoided on other types.
Specific Stain Removal
- Blood, Crayon, Chocolate, Grease, Mud, Pet Accidents, Wine, Tea, Wax: Each type of stain requires a specific method of removal. For example, blood stains require cold water and gentle dabbing, while wax spills need ice application followed by careful scraping and ironing.
Preventing Carpet Damage
- Furniture, Animals, Burns, General Care: Use furniture shoes to prevent dents, train pets to avoid the carpet, and avoid potential burn sources like cigarettes and irons. Use rugs in high-traffic areas, enforce a no-food-and-drink rule, keep pets and children off the carpet, remove shoes at the door, use doormats, and employ blinds or curtains to protect from sun bleaching.
Additional Protective Measures
- During DIY Tasks and General Protection: Use temporary coverings during tasks that might create dust or spills. Change air conditioning filters regularly to reduce dust buildup. Consider using protective coating chemicals after cleaning to extend the carpet’s life.
Diligent maintenance post-repair is key to preserving the carpet’s quality.
Regular vacuuming, using the right pad, professional cleaning, reactive stain treatment, and protective measures are all part of a comprehensive care regimen that will extend the life and appearance of your carpet.
Carpet Repair & Maintenance: Key Takeaways
Preserving Carpet Beauty & Longevity
- Regular Care: Essential for extending carpet life.
- Vacuuming & Cleaning: Keep carpets fresh and well-maintained.
Effective Maintenance Strategies
- Immediate Repairs: Address damages quickly.
- Ongoing Care: Use the right methods and products.
Professional Care at ‘Masterful Carpet Cleaning’
- Expert Services: Cleaning and repair to suit your needs.
- Contact Us: Call Masterful Carpet Cleaning for superior carpet solutions.
Final Thought
- Your Role: Regular maintenance and prompt repairs are important.
- Our Support: Reach out to us for expert carpet care and preservation.