Stains are an inevitable part of life, whether they come from a spilled cup of coffee, a child’s creative endeavors with crayons, or an unfortunate wine mishap during a dinner party. Knowing how to deal with these stains effectively can not only save your cherished belongings but also spare you from unnecessary stress.
Benefits of DIY Methods vs. Professional Cleaning for Minor Stains
While professional cleaning services offer expert solutions for a range of stains, not every stain requires a call to the experts. Many common household stains can be effectively managed with DIY methods, saving you both time and money. Plus, acting quickly with the tools you have at hand can often prevent a stain from setting, making it easier to remove.
Understanding Stains
At Masterful, we believe knowledge is power. To effectively combat stains, it’s crucial to understand how they bond with different materials. Stains adhere to surfaces through various interactions, including chemical bonds and physical absorption. This is why some stains are easier to lift off than others.
Importance of Knowing the Fabric Type
Different fabrics respond differently to cleaning agents and techniques. For example, wool and silk are more sensitive to heat and harsh chemicals compared to synthetic fibers like polyester. Knowing the fabric type can guide you in selecting the most effective and safest stain-removal method, ensuring that you maintain the quality and longevity of your carpets and upholstery.
pH Levels and Their Role in Stain Removal
The concept of pH isn’t just for science classes; it plays a vital role in effective stain removal. Alkaline solutions like baking soda may work well for acidic stains like coffee or pet urine, whereas acidic cleaners like vinegar are more effective for alkaline stains like soap scum. Masterful uses this science-backed approach to offer you tailored cleaning solutions.

Types of Stains
Organic Stains (e.g., Food, Blood)
Organic stains typically come from natural sources like food, beverages, or bodily fluids. Whether it’s a tomato sauce mishap or a blood stain from a minor injury, these stains are usually protein-based. Masterful suggests treating these stains quickly with cold water to avoid setting, followed by a protein-specific cleaner.
Inorganic Stains (e.g., Ink, Oil)
In contrast, inorganic stains often come from man-made sources like ink from pens or oil from machinery. These stains usually require specialized cleaning agents, such as alcohol for ink or degreasers for oil. Masterful has extensive experience in dealing with such stubborn stains and recommends a test patch before applying any chemical-based cleaner.
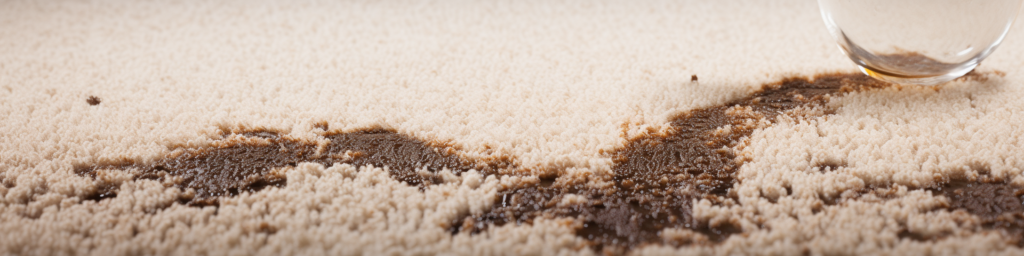
Special Stains (e.g., Wine, Coffee)
Ah, the dreaded wine and coffee stains! These stains not only have color but also contain tannins, making them particularly tricky to remove. Fret not! The Masterful approach involves using club soda or a tannin-specific cleaner to effectively lift these stains.
Stubborn Stains (e.g., Rust, Paint)
Stubborn stains like rust and paint are the arch-nemesis of any carpet or upholstery. They often require specialized treatment, sometimes even professional intervention. Masterful provides you with tried-and-tested DIY solutions like using lemon juice for rust and acetone for paint, which can be effective first steps in tackling these challenging stains.
Pet-Related Stains (e.g., Urine, Feces)
As much as we love our furry friends, they can sometimes leave behind unsightly and smelly stains. Masterful recommends enzyme-based cleaners for pet-related stains, as they break down the proteins and eliminate odors.

General Principles of Stain Removal
Immediate Action vs. Letting It Sit
Timing is everything when it comes to stain removal. Act fast to treat a fresh stain, as it’s generally easier to remove than one that has had time to set. There are specific instances, like certain ink or paint stains, where letting the stain dry before treating it can be more effective. Masterful equips you with the knowledge to make the right decision at the right time.
Blotting vs. Rubbing
One of the fundamental principles Masterful advocates is blotting over rubbing. Rubbing a stain can spread it further and may also damage the fabric. Blotting, on the other hand, lifts the stain, making it easier for cleaning agents to do their work.
Testing Cleaners on a Hidden Area
Before you go all out with any cleaning agent, it’s wise to test it on a hidden or less noticeable area first. This precaution ensures that the cleaner won’t discolor or damage the fabric. This is a standard procedure at Masterful, and we encourage you to adopt it in your DIY efforts.
Directional Cleaning (From Outside to Inside of the Stain)
When treating a stain, always work from the outside toward the center. This technique prevents the stain from spreading and concentrates the cleaning efforts where they are most needed. This is a professional tip from Masterful that is easily applicable in DIY scenarios.
Safety Precautions
Using Gloves and Masks
While many household cleaning agents are generally safe to use, some can be abrasive or cause skin irritation. Masterful strongly recommends wearing gloves to protect your hands, especially when dealing with chemical-based cleaners. For particularly strong agents, a mask can also help you avoid inhaling any fumes.
Ventilation Requirements
Adequate ventilation is crucial when using cleaning agents, particularly those that release fumes. Ensure that the area you are working in is well-ventilated, either by opening windows or using exhaust fans. This is a standard safety measure at Masterful, designed to protect both our professionals and clients.
Storing Cleaning Agents Safely
After your DIY stain removal, it’s essential to store any leftover cleaning agents safely. Keep them out of reach of children and pets, and clearly label all containers. Masterful believes that safety doesn’t end when the cleaning is done; proper storage is an integral part of a safe cleaning process.
Safety is not a step to be skipped or taken lightly. These precautions are the same ones that our experts at Masterful adhere to when delivering high-quality cleaning services. By following these safety measures, you’re not just protecting yourself but also ensuring the effectiveness of your DIY stain removal efforts.
Materials and Tools
Basic Household Items (e.g., Salt, Vinegar)
Many effective stain-removal agents can be found right in your kitchen pantry. Items like salt, vinegar, and baking soda are often your first line of defense against fresh stains. Masterful frequently uses these tried-and-true methods as initial steps in our comprehensive cleaning services.
Commercial Cleaning Agents
For some stubborn stains, household items might not suffice. Commercial cleaning agents often contain specialized compounds designed to tackle particular types of stains. Masterful recommends having a multi-purpose cleaner and a fabric-specific cleaner available for such situations.
Tools (e.g., Cloth, Brush, Sponge)
The right tools can make a significant difference in your stain removal efforts. Soft cloths, brushes with varying bristle stiffness, and sponges are essential tools for effective cleaning. These are the same tools that Masterful’s professionals keep in their kits to ensure top-notch results.
Safety Gear (e.g., Gloves, Masks)
As mentioned in our Safety Precautions section, appropriate safety gear is non-negotiable. Gloves protect your skin from the potential harshness of cleaning agents, while masks can help prevent inhalation of fumes. Masterful always prioritizes safety, and we encourage you to do the same.
Step-by-Step Guides for Specific Stains
Food Stains
Tomato Sauce
- Blot the Excess: Use a clean cloth to gently blot away as much of the tomato sauce as possible.
- Pre-Treat with Cold Water: Rinse the stain with cold water from the back of the fabric to force the stain out.
- Apply Cleaning Agent: Use a mixture of dish soap and cold water to treat the area.
- Blot and Rinse: Blot the area with another clean cloth and rinse thoroughly.
- Inspect and Repeat: If the stain remains, repeat steps 3 and 4.
Masterful Tip: Avoid using hot water as it can set protein-based stains like tomato sauce.
Chocolate
- Scrape Off Excess: Carefully use a spoon or blunt knife to remove any excess chocolate.
- Cold Water Rinse: Similar to tomato sauce, rinse the stain with cold water from the back.
- Apply Soap Mixture: Use a blend of dish soap and cold water to treat the stain.
- Rinse and Review: Rinse the area with cold water and inspect. Repeat if necessary.
Masterful Tip: Do not rub the chocolate stain as it can push the stain deeper into the fibers.
Grease
- Blot the Area: Use a paper towel to blot as much grease as possible.
- Apply Dish Soap: Dish soap is effective in breaking down grease. Apply a small amount directly to the stain.
- Rub Gently: Use your fingers or a soft brush to gently work the soap into the stain.
- Rinse and Inspect: Rinse thoroughly with cold water and inspect. Repeat if needed.
Masterful Tip: For stubborn grease stains, a specialized degreaser may be required.
Step-by-Step Guides for Specific Stains
Liquid Stains
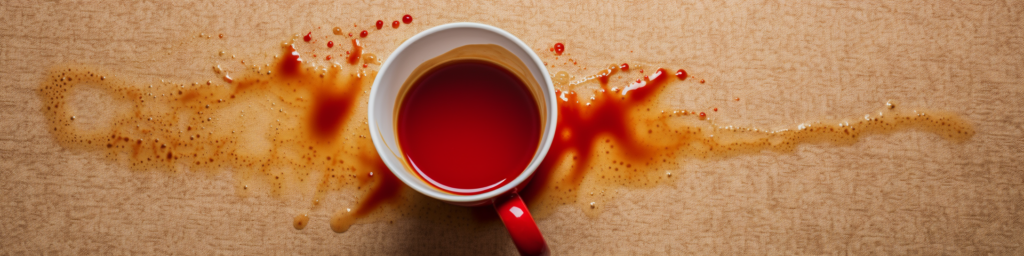
Red Wine
- Blot Immediately: Use a clean, dry cloth to blot as much of the red wine as you can.
- Apply Club Soda: Club soda can help lift the red wine stain. Pour a small amount over the stain.
- Blot Again: Use another clean cloth to blot up the club soda and wine.
- Rinse and Inspect: Rinse the area with cold water and assess if the stain is gone. Repeat if necessary.
Masterful Tip: Act quickly! Red wine stains are easiest to remove when fresh.
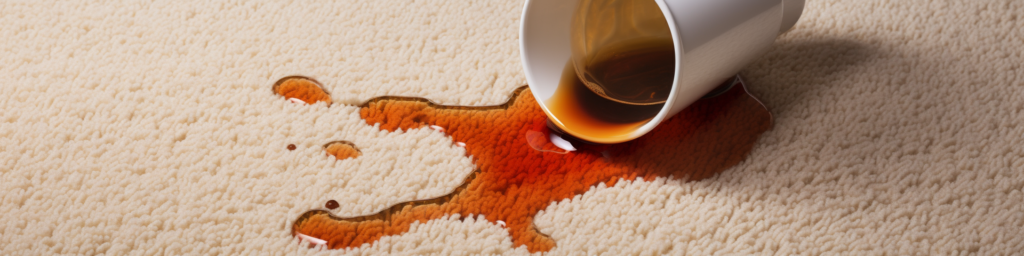
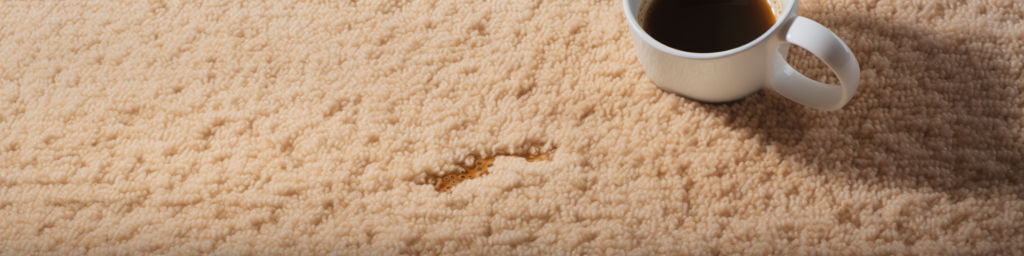
Coffee
- Blot the Excess: Gently blot the spilled coffee using a clean cloth.
- Apply Cold Water: Rinse the stain with cold water from the back of the fabric.
- Use a Soap Mixture: A blend of dish soap and cold water can be effective for coffee stains.
- Rinse and Review: Rinse the stained area thoroughly and inspect. Repeat steps 3 and 4 if required.
Masterful Tip: For older coffee stains, consider using a tannin-specific cleaner.
Juice
- Blot Immediately: Absorb as much of the juice as possible using a clean cloth.
- Rinse with Cold Water: Use cold water to rinse the stain from the backside of the fabric.
- Apply Vinegar Solution: A mixture of vinegar and cold water can help lift juice stains.
- Rinse and Inspect: Rinse the area with cold water and review. Repeat if needed.
Masterful Tip: Avoid using hot water, as it can set the juice stain, making it harder to remove.
Step-by-Step Guides for Specific Stains
Special Cases
Ink
- Isolate the Stain: Place a clean cloth or paper towel under the stained fabric to prevent the ink from spreading.
- Apply Alcohol: Dab a small amount of isopropyl alcohol onto a cotton ball and gently apply it to the stain.
- Blot Carefully: Use a clean cloth to blot the area. You should see the ink transfer onto the cloth.
- Rinse and Inspect: Rinse the area with cold water and check if the stain is gone. Repeat if necessary.
Masterful Tip: Always perform a patch test with alcohol to ensure it doesn’t damage the fabric.
Oil
- Blot Excess Oil: Use a paper towel to absorb as much oil as possible without rubbing.
- Apply Cornstarch: Sprinkle a small amount of cornstarch or talcum powder to absorb the remaining oil. Let sit for 10-15 minutes.
- Brush Off Powder: Gently brush off the powder using a soft brush.
- Use Degreaser: Apply a degreasing dish soap directly to the stain and gently rub.
- Rinse and Review: Rinse the stain with cold water and inspect. Repeat steps 4 and 5 if required.
Masterful Tip: For stubborn oil stains, consider using a commercial degreaser following a patch test.
Gum
- Freeze the Gum: Use an ice cube to harden the gum, making it easier to remove.
- Scrape Off: Carefully use a blunt knife to scrape off the frozen gum.
- Apply Vinegar: Dab a cloth soaked in white vinegar to remove any gum residue.
- Rinse and Inspect: Rinse the area with cold water and check for any remaining residue. Repeat if needed.
Masterful Tip: Be gentle while scraping to avoid damaging the fabric.
Step-by-Step Guides for Specific Stains
Pet-Related Stains
Urine
- Blot the Area: Use paper towels to absorb as much of the urine as possible.
- Apply Enzyme Cleaner: Spray a pet-specific enzyme cleaner over the stained area.
- Let Sit: Allow the cleaner to sit for the duration specified on the product label.
- Blot and Rinse: Blot up the enzyme cleaner and then rinse the area with cold water.
- Inspect and Repeat: Check if the stain and odor are gone. If not, repeat the process.
Masterful Tip: Always check the fabric’s care label before applying any enzyme cleaner.
Feces
- Remove Excess: Use a plastic bag or gloves to remove as much of the feces as possible.
- Apply Enzyme Cleaner: Spray the area with a pet-specific enzyme cleaner.
- Let Sit: Allow the cleaner to sit for the specified time on the product label.
- Scrub and Rinse: Use a soft brush to scrub the area gently, then rinse with cold water.
- Inspect and Repeat: If the stain remains, repeat steps 2 through 4.
Masterful Tip: Ensure proper ventilation when using enzyme cleaners to avoid inhaling any fumes.
Vomit
- Scrape Off Excess: Remove as much of the vomit as you can using a plastic bag or gloves.
- Blot the Area: Use paper towels to blot the stained area.
- Apply Vinegar Solution: Mix one part white vinegar with one part cold water and apply to the stain.
- Blot and Rinse: Blot the area to lift the stain and then rinse with cold water.
- Inspect and Repeat: Check the area. If the stain remains, repeat steps 3 and 4.
Masterful Tip: Vinegar not only helps remove the stain but also neutralizes the odor.
Advanced Techniques
Enzyme-Based Cleaners
Enzyme-based cleaners are excellent for breaking down organic matter, making them highly effective for stains like blood, urine, and food residues. Always follow the manufacturer’s instructions for optimal results.
Masterful Tip: Enzyme cleaners can take time to work; patience is key.
Steam Cleaning
Steam cleaning is an advanced technique that uses hot water extraction to lift stains. This method is particularly useful for deep-set or large-area stains that DIY methods struggle to tackle.
Masterful Tip: Always check if your fabric is compatible with steam cleaning to avoid damage.
Ultrasonic Cleaning
This technique uses ultrasonic waves to dislodge particles and stains from delicate items like jewelry or certain types of fabric. While ultrasonic cleaners are generally used by professionals, small home units are available for DIY use.
Masterful Tip: Ultrasonic cleaning is not suitable for all materials; always read the care instructions.
When to Use Heat vs. Cold
Understanding when to use hot or cold water can make a significant difference in your stain removal efforts. Generally, use cold water for protein-based stains and hot water for oily or greasy stains.
Masterful Tip: Incorrect water temperature can set the stain, making it more difficult to remove.
Handling Delicate Fabrics
Delicate fabrics like silk and wool require special care. Use mild cleaning agents and cold water to treat stains on these fabrics. Always perform a patch test to ensure the cleaning agent is compatible.
Masterful Tip: When in doubt, consulting a professional is the best course of action for delicate fabrics.

Common Mistakes to Avoid
Mixing Cleaning Agents
It might be tempting to mix different cleaning agents to boost their stain-removing power, but this can be a dangerous mistake. Some chemicals can react negatively with each other, producing harmful fumes or damaging your fabric.
Masterful Tip: Always read the labels and follow the manufacturer’s guidelines when using any cleaning agent.
Over-Wetting the Fabric
Too much liquid can saturate the fabric and spread the stain. Overwetting can also lead to mold growth or damage to delicate fibers.
Masterful Tip: Use a spray bottle to control the amount of liquid you apply to the stain.
Skipping the Rinse Cycle
Failing to thoroughly rinse out a cleaning agent can leave residues that attract more dirt over time. Always rinse with clean water and blot dry.
Masterful Tip: For carpet stains, consider using a wet-dry vacuum to extract excess moisture and residues.
Using the Wrong Tools
Using a hard-bristled brush on delicate fabrics or a soft cloth on a stubborn stain can be counterproductive. Make sure you use the right tools for the job.
Masterful Tip: A variety of brushes and cloths should be part of your stain-removal toolkit.
Not Testing on a Hidden Area
Always perform a patch test when using a new cleaning agent. This simple step can save you from damaging your fabric or setting the stain.
Masterful Tip: The inside hem or a corner are good spots for a patch test.
Preventive Measures and Maintenance
Fabric Protectors
Applying a fabric protector can create a barrier that repels spills and prevents stains from setting in. This can extend the life of your carpets and upholstery.
Masterful Tip: Always apply a fabric protector in a well-ventilated area and allow it to dry fully before use.
Regular Vacuuming
Routine vacuuming removes dirt and debris, reducing the chance of accidental stains embedding into the fabric. This is a foundational step in maintaining a clean home.
Masterful Tip: Invest in a high-quality vacuum cleaner with multiple attachments for versatile cleaning.
Spot Cleaning
Addressing spills or stains immediately with spot cleaning can prevent them from setting and becoming permanent. Keep a stain-removal kit handy for quick action.
Masterful Tip: Your stain-removal kit should include basic household items like salt, vinegar, and baking soda, as well as specialized cleaners.
Deep Cleaning Schedules
Consider deep cleaning your carpets and upholstery at least once a year. This preventive measure can remove embedded dirt and potential stains.
Masterful Tip: Professional deep cleaning services, like those offered by Masterful, can yield the best results.
Pet Training
If you have pets, investing in proper training can prevent accidental stains. Training pads and enzymatic cleaners should be part of your pet care routine.
Masterful Tip: Frequent walks and timely meals can help regulate your pet’s bathroom schedule, reducing the risk of accidents.
Summing It Up
Stains are a part of life, but they don’t have to be a permanent mark on your carpets, upholstery, or other fabrics. With the right knowledge, tools, and techniques, you can tackle the most common household stains effectively.
For those stains that prove to be too stubborn or specialized for DIY methods, don’t hesitate to seek professional help.
Masterful Carpet Cleaning offers a range of services that can help you maintain a spotless home environment.