Maintaining the integrity and appearance of natural stone tiles and their accompanying grout is a nuanced task that requires specific knowledge and care. It is imperative to use correct cleaning techniques to ensure these materials are not only cleaned effectively but also preserved.
Natural stone, a popular choice for its beauty and durability, is notably susceptible to damage when exposed to harsh chemicals and abrasive cleaning methods. Missteps in the cleaning process can lead to irreversible damage such as etching, staining, and cracking, detracting from the aesthetic and reducing the longevity of the stone surfaces.
Natural Stone and Grout
This category includes a variety of rock types, each with unique characteristics and uses in architecture and design. The most common types of natural stone used in tiling include:
- Marble: Known for its veining and rich aesthetics, marble is relatively porous and can be prone to staining and etching from acidic substances.
- Granite: One of the hardest natural stones, granite is valued for its resistance to scratches and stains, making it a popular choice for high-traffic areas.
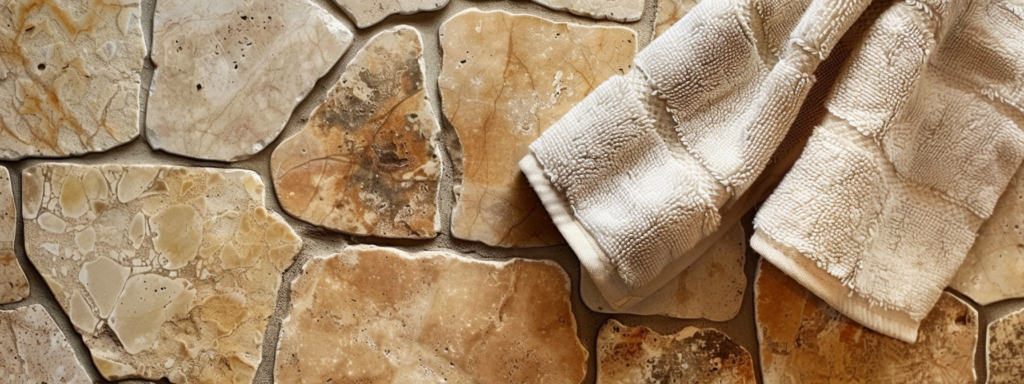
- Limestone: Softer and more porous than granite, limestone offers a natural, matte finish but can be susceptible to scratching and acid damage.
Each type of natural stone has specific properties that dictate the appropriate type of grout and cleaning methods to be used:
- Sanded Grout: Often used with natural stone tiles because of its ability to handle the larger grout joint widths commonly associated with stone installations.
- Unsanded Grout: Better suited for smoother, polished stone surfaces where a finer grout line is required, preventing scratching during application.
Special Cleaning Considerations
The inherent properties of natural stone require careful selection of cleaning agents and techniques to prevent damage:
- Avoid Acidic Cleaners: Acidic or highly alkaline cleaners can etch the surface of softer stones like marble and limestone.
- Use Proper Sealing Techniques: Many natural stones benefit from being sealed to protect against stains and moisture ingress. The type of sealer used should be compatible with the specific stone to maintain its natural appearance and protective qualities.
- Gentle Cleaning Tools: Abrasive tools can scratch the surface of softer stones. Using soft cloths or brushes is recommended to avoid damaging the stone while cleaning.
By knowing the characteristics of different types of natural stone and the appropriate methods for their care, homeowners and maintenance professionals can ensure that these exquisite materials remain a lasting part of their home’s aesthetic and function.
Proper care prevents common issues like staining and etching, ensuring that the natural beauty of the stone is maintained over time.
Cleaning Agents and Their Effects
When it comes to cleaning natural stone tiles and grout, the choice of cleaning agents is paramount to avoid damage while effectively maintaining the surface. The chemical properties of these agents can significantly influence the integrity and appearance of the stone.
Choosing the right cleaning agents is important for preserving the natural beauty of stone tiles.
Here’s a breakdown of recommended and contraindicated cleaning agents:
Recommended Cleaning Agents
- Neutral pH Cleaners: Ideal for all types of natural stone, these cleaners are gentle enough to prevent damage to the stone’s surface.
- Stone Soap: Specialty cleaners designed specifically for stone, which help in maintaining the stone’s seal and enhance its natural beauty without causing harm.
- Mild Liquid Dish Soap: A small amount diluted in water can be used for routine cleaning, providing it is thoroughly rinsed to prevent film buildup.
Contraindicated Cleaning Agents
- Vinegar and Lemon Juice: These acidic substances can etch marble, limestone, and other calcareous stones.
- Generic Bathroom Cleaners and Tile Cleaners: Often too harsh for natural stone, these can degrade the sealer and damage the stone’s surface.
- Ammonia or Bleach-Based Cleaners: These can strip the sealant from the stone and grout, leading to increased porosity and potential staining.
Knowing the pH levels in cleaning products is important when dealing with natural stone:
- pH Level: The measure of how acidic or alkaline a substance is, on a scale from 0 (very acidic) to 14 (very alkaline), with 7 being neutral.
- For Stone and Grout:
- Acidic Cleaners (pH less than 7): Can etch the surface of sensitive stones like marble and limestone, causing dull spots known as etches.
- Alkaline Cleaners (pH greater than 7): While they can be effective at breaking down grease and organic materials, they can also degrade sealants and damage the grout if used excessively or without proper rinsing.
- Neutral Cleaners (pH around 7): These are safest for cleaning most natural stones as they do not react chemically with the stone or grout, making them ideal for regular maintenance.
Selecting the appropriate cleaning agents and understanding their effects on natural stone and grout helps maintain the material’s integrity and beauty, preventing common cleaning mishaps that could lead to costly repairs or replacements.
Step-by-Step Grout Cleaning Guide
Cleaning grout on natural stone tiles requires careful attention to detail to ensure that both the stone and grout are preserved during the cleaning process. This guide provides a systematic approach to cleaning your grout safely and effectively.
1. Preparation
- Clear the Area: Remove any rugs, furniture, or other items to expose the grout lines completely for easy access.
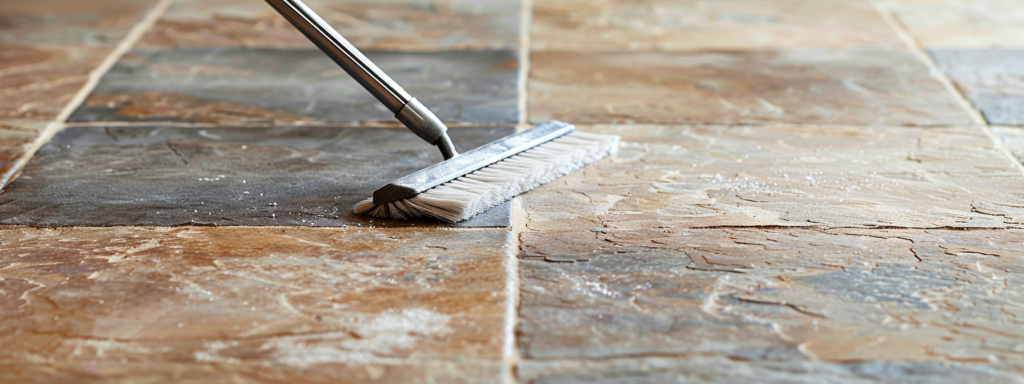
- Sweep or Vacuum: Clean the stone tiles thoroughly to remove any loose dirt or debris that could scratch the stone during the wet cleaning process.
2. Conduct a Patch Test
- Select an Inconspicuous Area: Choose a hidden spot, such as behind an appliance or furniture, to test your chosen cleaner.
- Apply the Cleaner: Follow the product’s instructions to apply a small amount of cleaner.
- Wait and Observe: Allow the cleaner to sit for the recommended time and then rinse it off. Check for any discoloration or damage to the stone or grout.
3. Cleaning
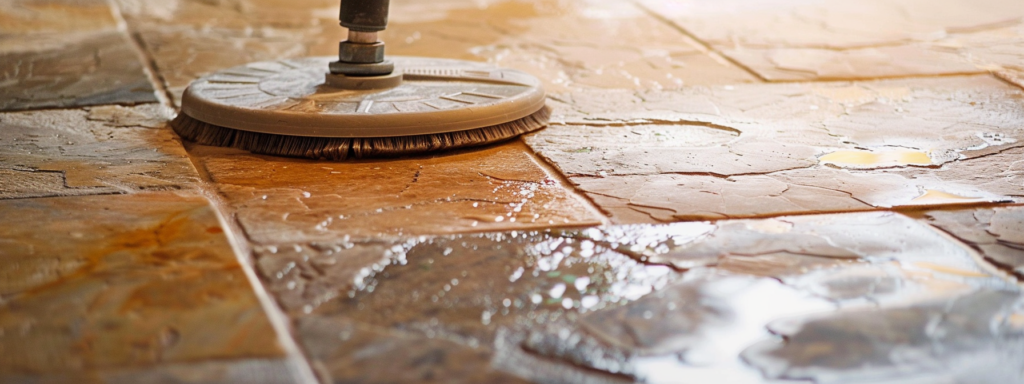
- Apply the Cleaning Solution: Using a spray bottle or a damp sponge, apply a stone-safe cleaning solution evenly over the grout lines. Avoid saturating the stone tiles to prevent water marks or potential seepage under the stone.
- Let It Sit: Allow the cleaner to dwell for about 10 minutes (or as recommended by the product instructions) to loosen the dirt and grime.
4. Scrubbing
- Use a Soft Brush: Gently scrub the grout lines with a soft bristle brush or a grout brush. Avoid using metal brushes or anything too abrasive that could scratch the stone tiles.
- Focus on Tough Stains: For stubborn stains, reapply the cleaning solution and allow it to sit for a few more minutes before scrubbing again.
5. Rinsing
- Rinse Thoroughly: Use clean water and a soft cloth or sponge to remove all traces of the cleaning solution from the grout and stone. It’s important to remove all residues to prevent attracting more dirt and to avoid leaving streaks on the stone.
- Dry the Surface: After rinsing, immediately dry the area with a clean towel to absorb any remaining moisture. This helps prevent water spots and potential slipping hazards.
6. Inspecting and Touching Up
- Inspect the Grout Lines: After the area is dry, inspect the grout lines for any remaining stains or residue.
- Touch Up as Needed: If stains persist, apply a targeted stain remover designed for grout and natural stone, following the same patch test, apply, and rinse procedures.
This step-by-step guide ensures that your grout cleaning process is thorough and safe, preserving the integrity and appearance of your natural stone tiles. Regular maintenance and careful cleaning will keep your stone surfaces looking pristine and extend their longevity.

Common Mistakes to Avoid in Grout and Stone Tile Cleaning
Properly maintaining natural stone tiles requires awareness of common cleaning mistakes that could potentially cause permanent damage. Here are several errors to avoid, along with tips on how to sidestep these pitfalls and adopt safer cleaning practices.
Common Cleaning Errors:
- Using Too Much Water: Excessive water can seep beneath the surface of stone tiles, leading to water stains, mold growth, or even weakening of the stone over time.
- Using the Wrong Type of Brush: Hard bristles or metal brushes can scratch the surface of softer stone types like marble or limestone, degrading the finish and beauty of the tiles.
- Choosing Inappropriate Cleaning Solutions: Acidic or highly alkaline cleaners can etch the surface of the stone, alter the color, and dissolve the fillers in the grout.
- Over-reliance on Harsh Chemicals: Using bleach or ammonia can strip away sealants from the stone and grout, increasing their vulnerability to stains and wear.
- Neglecting to Rinse Thoroughly: Leaving cleaner residue on stone can attract dirt and may lead to a buildup that dulls the surface and complicates future cleaning efforts.
How to Avoid These Mistakes:
- Moderate Water Use: Always use just enough water to dampen your cleaning cloth or sponge. Avoid pouring water directly onto stone surfaces. Instead, apply moisture through a controlled method like a spray bottle, which helps you manage the amount more effectively.
- Select the Right Tools: Opt for brushes with soft nylon bristles that are tough on dirt but gentle on stone. For regular maintenance, even an old toothbrush can work well on grout lines without risking damage to the stone.
- Pick Suitable Cleaning Agents: Use pH-neutral cleaners specifically designed for natural stone. These products are effective at cleaning without risking harm to the stone or grout. Always perform a spot test in an inconspicuous area before general application.
- Use Gentle, Natural Solutions: For a DIY approach, mild dish soap diluted in water can be a safe alternative. Ensure it is thoroughly rinsed off to avoid leaving any soapy residue.
- Ensure Complete Rinsing: After cleaning, make sure to rinse the area thoroughly with clean water. Wipe down with a soft, dry cloth to remove any remaining moisture and cleaning solution.
By avoiding these common mistakes and following the suggested guidelines, you can preserve the natural beauty and integrity of your stone tiles, ensuring they remain a durable and attractive feature in your home for years to come.
Maintaining Natural Stone Tiles Post-Cleaning
After a thorough cleaning, ongoing maintenance is essential to preserve the pristine condition of natural stone tiles and grout. Adopting effective strategies for long-term care ensures that your stone surfaces remain durable and visually appealing for years.
Long-Term Maintenance Strategies
- Regular Cleaning: Establish a routine of regular cleaning using the correct methods and products discussed previously to prevent dirt and stains from becoming ingrained.
- Immediate Stain Management: Address spills and stains immediately to prevent them from setting. Natural stone is often porous, and delaying cleanup can make the removal of stains more difficult.
- Avoid Damaging Substances: Protect stone surfaces from potentially damaging substances such as acidic foods, oils, and harsh cleaning agents by using coasters, placemats, and trays.
Sealing Stone Tiles
Sealing is a key process in the maintenance of natural stone tiles. This involves applying a protective layer over the stone to help prevent staining and ease the removal of dirt during cleaning.
- Importance of Sealing: The sealant acts as a barrier that minimizes the stone’s exposure to spills and stains. It is especially important for porous stones like limestone and marble, which are susceptible to staining and acid damage.
- Choosing Sealing Products: Select a sealant that is compatible with the specific type of stone. Sealants vary based on the level of protection they offer and the appearance they impart to the stone—some sealants enhance color, while others provide a natural, matte finish.
- Recommended Frequency of Re-sealing: The frequency with which you should re-seal stone tiles depends on the stone’s porosity, the sealant type, and the area’s traffic levels. Generally, it is advisable to re-seal high-traffic floor areas every 6 to 12 months, while less trafficked areas like backsplashes or accent tiles might only need re-sealing every two to five years.
Additional Tips
- Regular Inspection: Periodically inspect sealed surfaces for signs of wear or degradation. Areas with dullness or water absorption might indicate that re-sealing is necessary.
- Professional Maintenance: Consider hiring a professional stone maintenance service for periodic deep cleaning and sealing, especially for high-value or extensively used stone installations.
By implementing these maintenance strategies and understanding the importance of sealing, you can significantly extend the life and enhance the appearance of your natural stone tiles.
Regular upkeep not only preserves the material’s integrity but also contributes to the overall aesthetics of your space, ensuring that your stone surfaces always look their best.