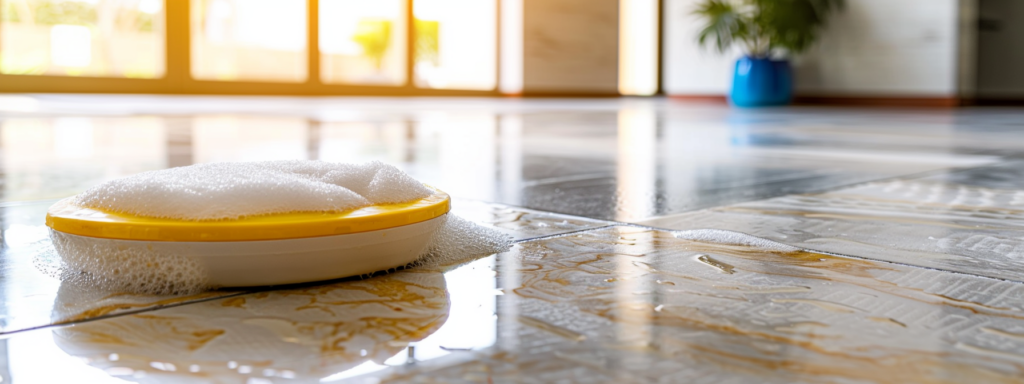
Sanded grout is a common choice for filling the spaces between tiles, primarily because it provides excellent durability and bond due to the fine sand particles it contains. This type of grout is ideal for larger grout lines commonly found in tile floors, bathrooms, and backsplashes.
The very composition that gives sanded grout its strength, a mixture of Portland cement and sand, also makes it porous and rough, characteristics that render it vulnerable to staining and accumulation of dirt and grime.
The granular texture of sanded grout can trap dirt particles more easily than smoother, unsanded varieties, making it particularly challenging to clean. Without proper and regular maintenance, sanded grout can quickly become discolored and dingy, detracting from the beauty of the tiled area and potentially leading to damage that is costly to repair.
Tools and Cleaning Agents
When tackling the cleaning of sanded grout, having the right tools and cleaning agents at your disposal is important. Here’s a recommended list of essentials:
- Stiff Nylon Brushes: Effective for scrubbing grout lines without causing damage that harsher wires might incur.
- Microfiber Cloths: Excellent for wiping away dirt and moisture gently and efficiently.
- Steam Cleaners: Useful for deep cleaning grout lines with hot steam that loosens grime without the need for excessive chemicals.
Cleaning Agents
- pH-Neutral Solutions: Safe for regular use on sanded grout, these cleaners prevent damage to both the grout and the adjacent tiles.
- Specific Grout Cleaners: Designed to target grout directly, these can be more aggressive and effective at removing stains but should be used with caution.
When evaluating the effectiveness and safety of these cleaning agents, it’s important to consider their suitability for sanded grout to avoid degradation or discoloration. pH-neutral solutions are typically safest, as they do not alter the color or integrity of the grout.
Harsher chemicals, while effective at stain removal, can erode the grout over time if used too frequently or without proper rinsing. Selecting the appropriate products and using them according to manufacturer recommendations are key to maintaining the longevity and appearance of your grout.
Step-by-Step Cleaning Process for Sanded Grout
Cleaning sanded grout effectively requires a systematic approach to both routine and deep cleaning to ensure all dirt and grime are removed without damaging the grout or the surrounding tiles. Here’s a detailed guide to help you maintain your grout impeccably clean:
1. Preparing the Area
- Clear the Space: Remove any furniture, rugs, or other items to ensure complete access to the grout lines.
- Sweep or Vacuum: Start by thoroughly sweeping or vacuuming the area to remove loose dirt and debris. This prevents scratching the tiles during the wet cleaning process.
2. Routine Cleaning
- Mix the Cleaning Solution: Prepare a solution of warm water and a pH-neutral cleaner as recommended for sanded grout. Avoid using overly acidic or alkaline products.
- Apply the Solution: Use a spray bottle to apply the solution directly to the grout lines, avoiding excessive saturation of the area.
- Scrub Gently: With a stiff nylon brush, scrub the grout lines gently to loosen the dirt. For routine cleaning, a light scrub is often sufficient.
3. Deep Cleaning
- Apply a Grout Cleaner: For deeper stains, apply a grout-specific cleaner that is safe for sanded grout. Ensure to follow the manufacturer’s instructions regarding application and dwell time.
- Scrub Vigorously: Use more pressure or a specialized grout brush to deeply scrub the grout lines. Be cautious not to damage the edges of the tiles.
- Steam Clean (Optional): For extremely tough grime, a steam cleaner can be used to penetrate deeply into the grout pores without the use of harsh chemicals.
4. Rinsing
- Rinse Thoroughly: After scrubbing, rinse the area with clean water. A handheld shower head or a damp cloth can be effective for rinsing. Ensure all cleaning residue is removed, as leftover cleaner can attract more dirt.
5. Drying and Inspecting
- Dry the Area: Use a clean, dry towel or a microfiber cloth to dry the area thoroughly. This helps prevent any moisture-related issues and gives you a clear view to inspect the grout.
- Inspect and Touch Up: Examine the grout lines for any remaining stains or missed spots. Touch up as necessary, repeating the cleaning and rinsing process in specific areas.
6. Sealing (Post-Cleaning)
- Apply Grout Sealer: Once the grout is clean and completely dry, consider applying a grout sealer to help protect it from future stains and dirt. Follow the sealer instructions for application and curing times.
This step-by-step process ensures that your sanded grout is not only clean but also maintained in a condition that prolongs its life and enhances the overall appearance of your tiled surfaces. Regular attention and proper cleaning techniques are key to keeping grout looking its best.
Tips for Preventing Future Grout Issues
Maintaining the condition of sanded grout goes beyond regular cleaning; implementing preventive measures is important for ensuring its longevity and appearance. Here are several strategies to help you protect your grout from common problems:
Regular Sealing of Grout
- Frequency of Sealing: Sanded grout should be sealed after installation and then periodically based on the level of traffic and exposure to moisture. For most home environments, sealing once a year is advisable.
- Choice of Sealer: Use a sealer appropriate for sanded grout. Sealers come in two main types: penetrating and membrane-forming. Penetrating sealers soak into the grout and protect it from within, while membrane-forming sealers create a barrier on the surface that repels water.
Immediate Cleaning of Spills
- Act Quickly: The porous nature of sanded grout can absorb spills rapidly, leading to stains that are difficult to remove. Blotting spills immediately with a clean, dry cloth can prevent them from seeping deep into the grout.
- Use Appropriate Cleaners: For tougher stains, use a pH-neutral cleaner that is safe for grout. Apply the cleaner to the stain, let it sit for a few minutes, then gently scrub and rinse.
Proper Ventilation
- Reduce Moisture Buildup: In areas like bathrooms and kitchens where moisture is prevalent, ensure adequate ventilation to help prevent the growth of mold and mildew in the grout lines. Use exhaust fans, open windows, or dehumidifiers to keep the area dry.
Grout Sealing
Grout sealing involves applying a protective coating to grout lines to minimize water absorption, resist stains, and prolong the aesthetic appeal of grout.
- Benefits of Grout Sealing:
- Stain Resistance: Sealed grout is less likely to absorb spills, making it easier to clean and maintain.
- Moisture Resistance: Sealing helps prevent the ingress of moisture, which can lead to mold growth and weakening of the grout’s structure.
- Ease of Cleaning: Sealed grout is smoother and less porous, which means dirt and grime are less likely to stick, making routine cleaning more effective.
Regular maintenance, immediate action on spills, and proper environmental controls are key strategies that contribute to the longevity and beauty of your tiled surfaces.
Troubleshooting Common Problems with Sanded Grout
Even with diligent maintenance, sanded grout can encounter several common problems that may require specific solutions. Below, we address these issues and provide effective remedies to help keep your grout in optimal condition.
Common Issues and Solutions:
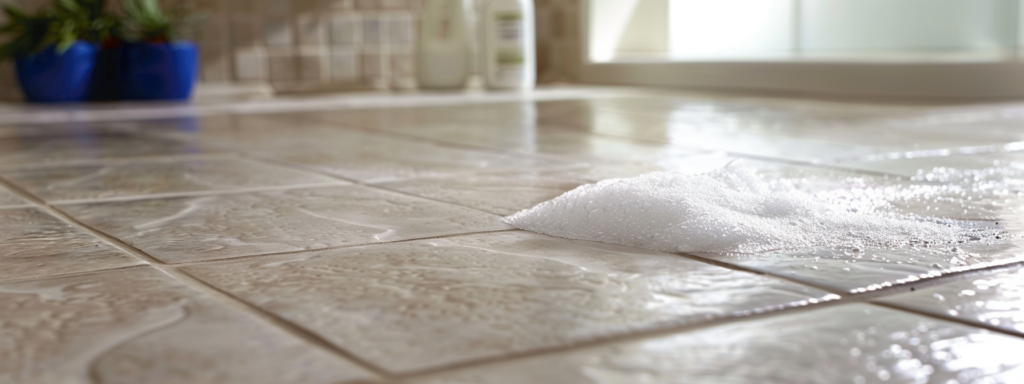
- Dingy Grout: Over time, grout may become dull or discolored, especially in high-traffic areas.
- Solution: Use a mixture of baking soda and water to create a paste. Apply this paste to the grout lines, let it sit for 10-15 minutes, then scrub gently with a stiff brush and rinse thoroughly. For deeper cleaning, consider a commercially available grout cleaner specifically designed for deeper stains.
- Mold Growth: In damp areas, such as showers or around kitchen sinks, mold and mildew can be a frequent problem.
- Solution: Mix one part hydrogen peroxide with one part water in a spray bottle. Spray it directly on the moldy grout, allow it to sit for at least 30 minutes, then scrub with a stiff brush and rinse. Regular use of ventilation and keeping areas dry can prevent future mold growth.
- Persistent Stains: Some stains, especially from liquids like coffee or wine, can be particularly stubborn.
- Solution: For tough stains, create a mixture of equal parts white vinegar and water, apply it to the stained area, and allow it to sit for several minutes before scrubbing gently. If the stain persists, a stronger cleaning agent or a poultice may be needed to draw out the stain.
When to Call a Professional
While many grout issues can be resolved with DIY methods, there are situations where professional intervention may be necessary:
- Deep Stains and Erosion: If the grout continues to look stained or eroded after cleaning, or if it has begun to crumble and break down, these could be signs of deeper damage that might require complete re-grouting.
- Extensive Mold Issues: If mold reappears quickly after cleaning or covers a significant area, it may be indicative of an underlying moisture problem that needs professional assessment and treatment.
- After Renovations: Following significant kitchen or bathroom renovations, having a professional reseal and possibly re-grout can ensure that everything is in optimal condition, protecting your investment.
By knowing how to address these common grout issues and recognizing when to call in a professional, you can maintain the beauty and integrity of your sanded grout, ensuring it remains a durable and attractive part of your home’s décor.