Upholstery Cleaning: From Basics to Pet Owner Tips
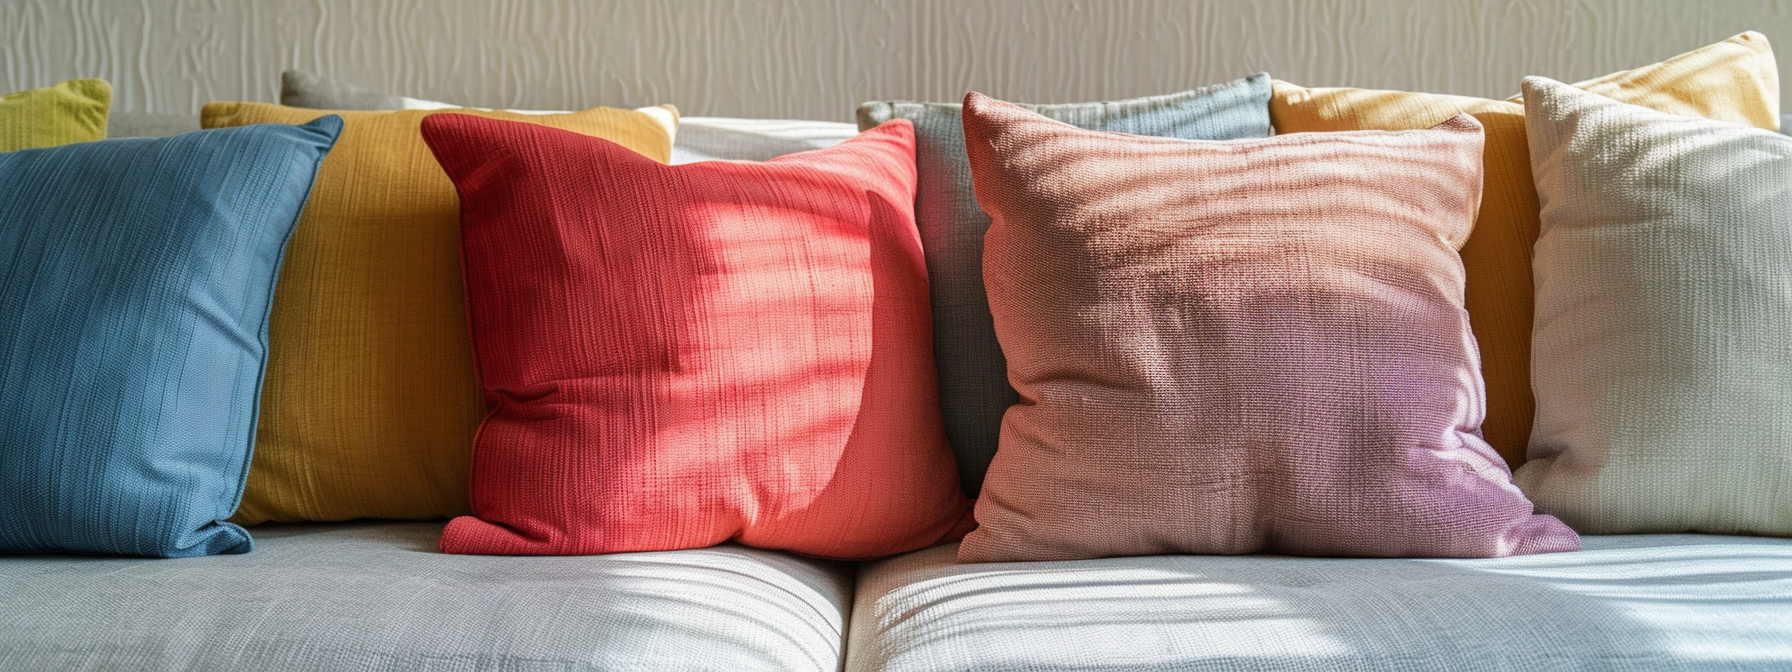
Maintaining clean and beautiful upholstery requires regular attention and professional expertise.
For thorough and effective cleaning, rely on the professionals at Masterful Carpet Cleaning.
Why Choose Masterful Carpet Cleaning?
- Expert Upholstery Cleaning:
- Advanced Techniques: Our team uses state-of-the-art equipment and techniques to deep clean and restore your upholstery.
- Specialized Solutions: We tailor our cleaning methods to suit the specific fabric and condition of your furniture, ensuring the best possible results.
- Pet-Friendly Services:
- Safe for Pets: Our cleaning solutions are non-toxic and safe for your pets, effectively removing stains and odors without harming your furry friends.
- Odor Elimination: We use advanced deodorizing methods to neutralize pet odors, leaving your furniture fresh and clean.
- Convenient and Reliable:
- Flexible Scheduling: We offer convenient appointment times to fit your busy schedule.
- Satisfaction Guaranteed: We stand by our work and ensure your satisfaction with our services.
Schedule Your Professional Upholstery Cleaning Today
Don’t let stains and odors compromise the beauty and comfort of your furniture. Contact Masterful Carpet Cleaning for expert upholstery care.
- Book an Appointment: Use our easy online booking system to schedule a professional cleaning at a time that works for you.
- Contact Us: Have questions or need assistance? Our friendly customer service team is here to help. Call us or reach out through our website for prompt support.
Ensure your upholstery looks and feels its best with Masterful Carpet Cleaning.
Schedule your professional cleaning today and experience the difference!

Basic Upholstery Cleaning
Maintaining clean upholstery is essential for extending the life of your furniture and ensuring a pleasant home environment. Here are the fundamental steps for routine upholstery cleaning:
Step 1: Regular Vacuuming
- Remove Loose Dirt and Debris:
- Frequency: Vacuum your upholstery weekly to prevent dirt and dust from settling into the fabric.
- Vacuum Attachments: Use a vacuum cleaner with an upholstery attachment. A brush attachment can help loosen dirt while a crevice tool reaches into seams and crevices.
- Technique:
- Top to Bottom: Start at the top of the furniture and work your way down to ensure all debris is collected.
- Gentle Strokes: Use gentle, overlapping strokes to avoid damaging the fabric.
Step 2: Spot Cleaning
- Identify the Stain:
- Type of Stain: Identify whether the stain is from food, drink, ink, or another source. This will help you choose the right cleaning method.
- Blotting Technique:
- Immediate Action: Blot spills immediately with a clean, white cloth to absorb as much liquid as possible. Avoid rubbing, as it can push the stain deeper into the fabric.
- Cleaning Solutions:
- Mild Soap and Water: Mix a few drops of mild dish soap with warm water. Dip a clean cloth into the solution and gently blot the stain.
- Vinegar Solution: For tougher stains, mix equal parts white vinegar and water. Apply to the stain with a cloth and blot gently.
- Commercial Cleaners: Use a commercial upholstery cleaner appropriate for your fabric type. Follow the manufacturer’s instructions carefully.
Step 3: Deep Cleaning
- Steam Cleaning:
- Suitable Fabrics: Check if your upholstery fabric can be steam cleaned by reading the manufacturer’s label. Steam cleaning is effective for deep cleaning but can damage some materials.
- Equipment: Use a steam cleaner with an upholstery attachment. Fill the machine with water and the appropriate cleaner if required.
- Technique: Move the steam cleaner over the fabric in a steady, controlled manner. Allow the furniture to dry completely before use.
- Foam Cleaning:
- Foam Cleaners: Apply a foam upholstery cleaner to the fabric, following the product instructions.
- Scrubbing: Gently scrub the foam into the fabric with a soft brush, then wipe away the excess with a clean cloth.
- Drying: Allow the upholstery to air dry completely before use.
Step 4: Deodorizing
- Baking Soda:
- Sprinkling: Sprinkle a light layer of baking soda over the upholstery and let it sit for at least 15 minutes to absorb odors.
- Vacuuming: Vacuum the baking soda thoroughly to remove any residue.
- Fabric Fresheners:
- Sprays: Use a fabric freshener spray to eliminate odors. Choose a product that is safe for your specific upholstery fabric.
- Natural Alternatives: Mix water with a few drops of essential oil in a spray bottle and lightly mist the upholstery.
Pro Tips:
- Check Labels: Always check the manufacturer’s label on your upholstery for cleaning recommendations and fabric type codes (e.g., W for water-based cleaners, S for solvent-based cleaners, WS for either, and X for vacuum only).
- Test First: Before using any cleaning solution, test it on a small, inconspicuous area to ensure it doesn’t cause discoloration or damage.
- Routine Maintenance: Incorporate these cleaning steps into your regular housekeeping routine to keep your upholstery looking and smelling fresh.
By following these basic upholstery cleaning steps, you can maintain the appearance and longevity of your furniture, ensuring a clean and comfortable home environment.
Handling Common Stains
Upholstery is prone to various types of stains from everyday use. Knowing how to tackle these common stains effectively can help preserve your furniture’s appearance. Here are methods for removing different types of stains from various upholstery fabrics:
Food and Drink Stains
- Grease and Oil:
- Blotting: Immediately blot the stain with a clean cloth to absorb excess grease or oil.
- Baking Soda or Cornstarch: Sprinkle baking soda or cornstarch on the stain to absorb the grease. Let it sit for 15 minutes, then vacuum.
- Mild Soap Solution: Mix a few drops of dish soap with warm water. Dampen a cloth with the solution and gently blot the stain. Rinse with a clean, damp cloth and let dry.
- Coffee and Tea:
- Blotting: Blot the spill immediately with a clean cloth to remove as much liquid as possible.
- Vinegar Solution: Mix one part white vinegar with one part water. Apply to the stain with a cloth, blotting gently.
- Baking Soda: Sprinkle baking soda over the damp area to absorb moisture and neutralize odor. Vacuum once dry.
- Red Wine:
- Blotting: Blot the spill immediately with a clean cloth.
- Club Soda: Pour a small amount of club soda onto the stain and blot with a cloth. Repeat until the stain is gone.
- Hydrogen Peroxide and Dish Soap: Mix two parts hydrogen peroxide with one part dish soap. Apply to the stain, let it sit for a few minutes, then blot and rinse with water.
Ink and Dye Stains
- Ink:
- Blotting: Blot the ink stain with a clean cloth to absorb as much ink as possible.
- Rubbing Alcohol: Dampen a cloth with rubbing alcohol and blot the stain. Avoid rubbing, as this can spread the ink.
- Rinse: Rinse the area with a clean, damp cloth and let dry.
- Dye:
- Vinegar Solution: Mix one part white vinegar with two parts water. Apply to the stain with a cloth, blotting gently.
- Hydrogen Peroxide: Apply hydrogen peroxide to the stain and let it sit for a few minutes. Blot with a clean cloth and rinse with water.
Biological Stains (Blood, Urine, Vomit)
- Blood:
- Cold Water: Blot the stain with a cloth soaked in cold water. Avoid using warm water, as it can set the stain.
- Hydrogen Peroxide: Apply hydrogen peroxide to the stain, let it bubble, then blot with a clean cloth.
- Rinse: Rinse with cold water and blot dry.
- Urine:
- Blotting: Blot the spill immediately with a clean cloth to absorb as much liquid as possible.
- Vinegar Solution: Mix one part white vinegar with one part water. Apply to the stain and blot with a cloth.
- Baking Soda: Sprinkle baking soda over the damp area to absorb moisture and neutralize odor. Vacuum once dry.
- Vomit:
- Blotting: Remove any solid material and blot the area with a clean cloth.
- Baking Soda: Sprinkle baking soda on the stain to absorb moisture and odor. Let it sit for 15 minutes, then vacuum.
- Enzyme Cleaner: Apply an enzyme cleaner specifically designed for biological stains. Follow the product instructions and blot the area with a clean cloth.
Miscellaneous Stains
- Gum:
- Freezing: Place ice cubes in a plastic bag and hold against the gum until it hardens.
- Scraping: Gently scrape off the hardened gum with a butter knife or spoon.
- Cleaning Solution: Apply a mild soap solution to any remaining residue and blot with a clean cloth.
- Mud:
- Dry and Vacuum: Allow the mud to dry completely, then vacuum to remove loose dirt.
- Soap Solution: Mix a few drops of dish soap with warm water. Apply to the stain and scrub gently with a brush. Blot with a clean, damp cloth and let dry.
Pro Tips:
- Act Quickly: The sooner you treat a stain, the easier it will be to remove.
- Test Cleaning Solutions: Always test cleaning solutions on an inconspicuous area of the upholstery to ensure they do not cause damage or discoloration.
- Gentle Blotting: Avoid rubbing stains, as this can push them deeper into the fabric. Blot gently to lift the stain.
By following these methods for handling common stains, you can keep your upholstery looking fresh and well-maintained, prolonging the life of your furniture.
Pet Owner Tips
Pets bring joy to our lives, but they can also bring stains, odors, and fur to our upholstery. Here are some specialized tips for pet owners to keep furniture looking and smelling fresh:
Dealing with Pet Fur
- Regular Vacuuming:
- High-Frequency Vacuuming: Vacuum your upholstery frequently, ideally 2-3 times a week, to remove pet hair before it embeds in the fabric.
- Attachments: Use vacuum attachments like a pet hairbrush or upholstery tool to effectively lift and remove fur from furniture.
- Lint Rollers and Pet Hair Removers:
- Lint Rollers: Keep a lint roller handy for quick cleanups. Roll it over your upholstery to pick up loose fur.
- Rubber Gloves: Wear dampened rubber gloves and run your hands over the upholstery. The fur will cling to the gloves, making it easy to remove.
- Pet Hair Remover Tools: Use tools specifically designed for pet hair removal, such as a pet hair remover brush or a silicone pet hair remover.
Tackling Pet Odors
- Baking Soda:
- Sprinkle and Sit: Sprinkle baking soda liberally over your upholstery and let it sit for 15-30 minutes to absorb odors.
- Vacuum: Vacuum the baking soda thoroughly to remove it and the absorbed odors.
- Fabric Fresheners:
- Natural Fresheners: Mix water with a few drops of essential oil (e.g., lavender, lemon) in a spray bottle. Lightly mist the upholstery to refresh the scent.
- Commercial Fresheners: Use pet-safe fabric fresheners to neutralize odors. Make sure to choose products that are non-toxic and safe for pets.
- Vinegar Solution:
- Vinegar and Water: Mix equal parts white vinegar and water in a spray bottle. Lightly spray the solution on your upholstery and let it air dry. Vinegar neutralizes odors naturally.
Removing Pet Stains
- Urine Stains:
- Blotting: Blot the urine stain immediately with a clean cloth to absorb as much liquid as possible.
- Vinegar Solution: Mix equal parts white vinegar and water. Apply to the stain and blot with a cloth. Vinegar helps neutralize the odor and disinfect the area.
- Baking Soda: Sprinkle baking soda over the damp area to absorb moisture and neutralize any remaining odor. Vacuum once dry.
- Enzyme Cleaner: For stubborn stains and odors, use an enzyme cleaner specifically designed for pet stains. Follow the product instructions and blot with a clean cloth.
- Vomit Stains:
- Blotting: Remove any solid material and blot the area with a clean cloth.
- Baking Soda: Sprinkle baking soda on the stain to absorb moisture and odor. Let it sit for 15 minutes, then vacuum.
- Mild Soap Solution: Mix a few drops of mild dish soap with warm water. Apply to the stain and blot gently with a cloth. Rinse with a damp cloth and let dry.
- Mud and Dirt:
- Dry and Vacuum: Allow the mud to dry completely, then vacuum to remove loose dirt.
- Soap Solution: Mix a few drops of dish soap with warm water. Apply to the stain and scrub gently with a brush. Blot with a clean, damp cloth and let dry.
Preventive Measures
- Protective Covers:
- Slipcovers and Throws: Use washable slipcovers or throws to protect your upholstery from pet fur, stains, and odors. They are easy to remove and clean regularly.
- Pet Blankets: Designate specific blankets or pet beds for your pets to lie on. Place these on your furniture to catch fur and prevent stains.
- Regular Grooming:
- Brush Pets Frequently: Regularly brush your pets to reduce the amount of loose fur and dander that ends up on your furniture.
- Bathe Pets: Bathe your pets as recommended by your vet to keep their fur clean and reduce odors.
- Training and Behavior:
- Designated Areas: Train your pets to use designated areas for sleeping and lounging to minimize their contact with your upholstery.
- Positive Reinforcement: Use positive reinforcement to encourage your pets to stay off the furniture if desired.
Pro Tips:
- Use Pet-Safe Products: Always choose cleaning products that are non-toxic and safe for pets to avoid any harmful reactions.
- Regular Cleaning Routine: Incorporate pet-specific cleaning tasks into your regular routine to stay on top of fur, odors, and stains.
- Emergency Kit: Keep an emergency cleaning kit with pet-safe products and tools readily available for quick responses to accidents.
By following these pet owner tips, you can maintain clean and fresh upholstery, ensuring a comfortable and inviting home for both you and your furry friends.

Preventive Measures
Implementing preventive measures can significantly reduce the frequency and severity of stains and damage to your upholstery. Here are strategies to protect your furniture from future mishaps:
Protective Covers and Accessories
- Slipcovers and Throws:
- Usage: Use washable slipcovers or throws on your upholstery. These can be easily removed and cleaned, protecting the underlying fabric from spills, stains, and pet fur.
- Variety: Choose from a variety of materials and colors to match your decor while providing protection.
- Furniture Protectors:
- Arm and Seat Covers: Use arm and seat covers to protect high-contact areas from dirt and wear.
- Plastic Covers: For temporary protection during events or when expecting messes, use clear plastic covers to shield your furniture.
- Pet-Specific Accessories:
- Pet Blankets: Designate specific blankets or pet beds for your pets to use. Place these on your furniture to catch fur and prevent direct contact with the upholstery.
- Scratch Guards: Install scratch guards on the sides of your furniture to prevent pet claws from causing damage.
Regular Maintenance Routines
- Frequent Vacuuming:
- Routine: Vacuum your upholstery regularly, ideally once a week, to remove dust, dirt, and pet hair before they settle deeply into the fabric.
- Attachments: Use appropriate vacuum attachments like a brush or crevice tool to reach all areas of the furniture.
- Spot Cleaning:
- Immediate Action: Address spills and stains as soon as they occur. Blot spills with a clean cloth and use appropriate cleaning solutions based on the type of stain.
- Routine Checks: Perform routine inspections of your furniture to catch and treat any minor stains or spots before they become permanent.
Applying Fabric Protection
- Fabric Protectors:
- Products: Use fabric protectors like Scotchgard to create a barrier against spills and stains. These products repel liquids and make cleanup easier.
- Application: Follow the manufacturer’s instructions for applying fabric protectors. Ensure the upholstery is clean and dry before application.
- Reapplication:
- Frequency: Reapply fabric protectors every 6-12 months or after professional cleaning to maintain their effectiveness.
- Test First: Always test the product on a small, inconspicuous area to ensure it doesn’t cause discoloration or damage.
Environmental Controls
- Controlling Humidity:
- Dehumidifiers: Use dehumidifiers in humid climates to reduce moisture levels, which can prevent mold and mildew growth on upholstery.
- Air Circulation: Ensure proper air circulation in rooms with upholstered furniture to keep the environment dry and fresh.
- Sunlight Protection:
- Curtains and Blinds: Use curtains or blinds to protect your furniture from direct sunlight, which can cause fading and deterioration of fabrics over time.
- UV Protection Films: Apply UV protection films to windows to reduce the amount of harmful UV rays that enter your home.
Training and Behavioral Adjustments
- Pet Training:
- Designated Areas: Train your pets to use specific areas or furniture pieces designated for them, reducing their contact with your primary upholstery.
- Positive Reinforcement: Use positive reinforcement techniques to encourage pets to stay off certain furniture pieces.
- Family Habits:
- House Rules: Establish house rules for eating, drinking, and playing on upholstered furniture to minimize accidental spills and stains.
- Awareness: Educate family members about the importance of maintaining upholstery and the preventive measures in place.
Pro Tips:
- Regular Professional Cleaning: Schedule professional cleaning services periodically to deep clean and refresh your upholstery, maintaining its appearance and extending its lifespan.
- Eco-Friendly Products: Use eco-friendly and non-toxic cleaning products and fabric protectors to ensure the safety of your family and pets.
- Consistent Maintenance: Make preventive measures and routine maintenance part of your regular cleaning schedule to keep your upholstery looking its best.
By implementing these preventive measures, you can effectively protect your upholstery from future stains and damage, ensuring it remains clean and attractive for years to come.
Author
-

As the Co-Owner of Masterful, Randy has been providing quality cleaning services to the Salem and Portland areas of Oregon for many years. He has built a reputation for excellence in the industry. His team take prides in using the latest cleaning techniques and technologies to deliver exceptional results every time.
View all posts
