Mop Maintenance for Effective Floor Cleaning
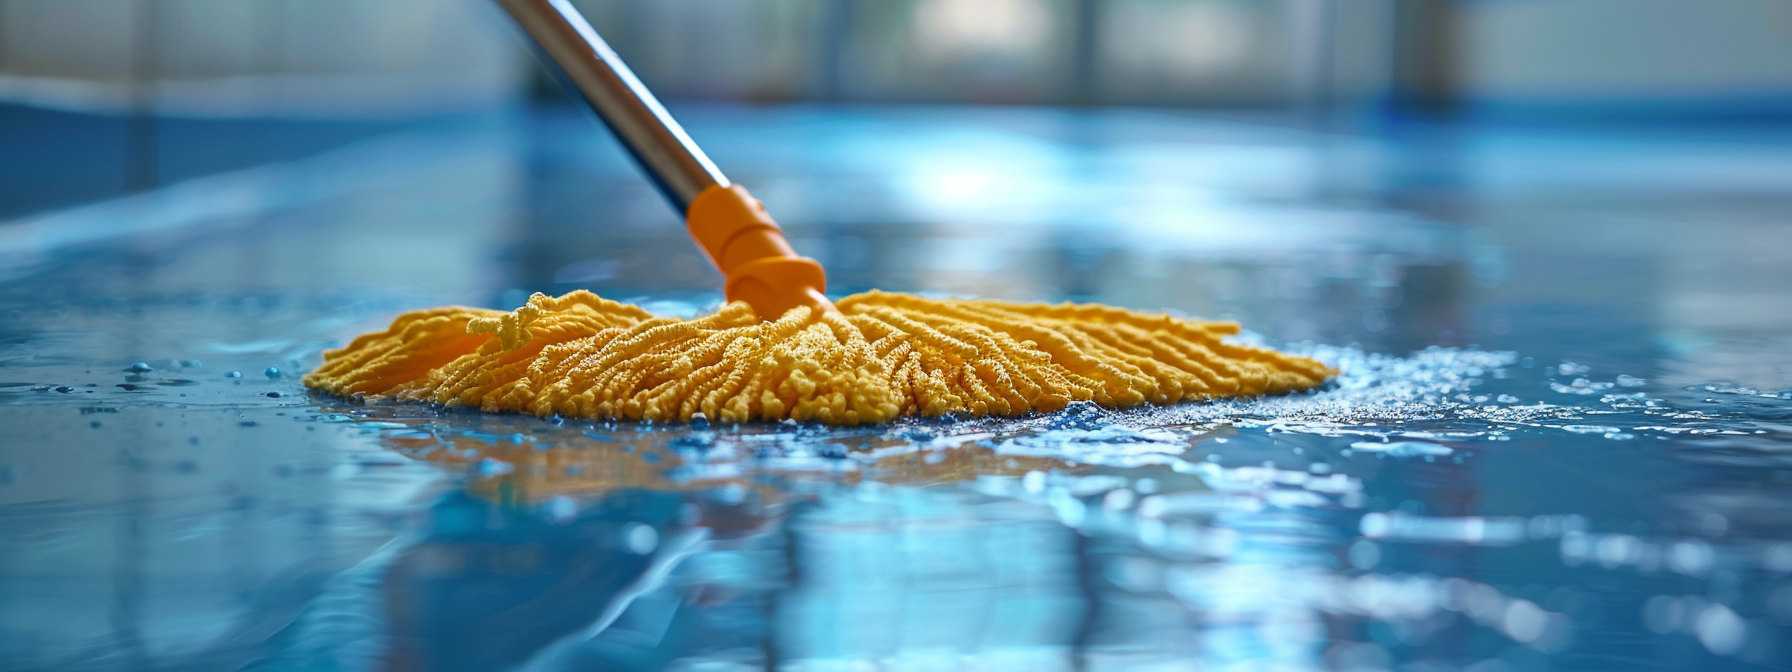
Maintaining your mop is important for ensuring effective floor cleaning. A well-maintained mop not only improves cleaning efficiency but also extends the mop’s lifespan and ensures hygiene.
Through regular maintenance, you ensure that your floors are not just visually clean but also free from harmful bacteria and debris that can accumulate over time.
Effective mop care involves routine cleaning and timely replacement of mop heads to prevent the spread of dirt and pathogens, safeguarding both the cleanliness of floors and the health of those using the space.
Different Types of Mops and Their Maintenance Needs
Different types of mops are designed for specific cleaning tasks, and each requires a particular maintenance approach to ensure longevity and effectiveness:
- Microfiber Mops: Known for their efficiency in picking up debris and preventing cross-contamination, microfiber mops are ideal for healthcare settings and high-traffic areas. They should be washed after each use, avoiding bleach and high temperatures that could damage the fibers.
- Flat Mops vs. String Mops: Flat mops are easier to clean and disinfect compared to string mops, which can collect pathogens more readily. Both types can be washed to remove most pathogens, although it’s essential to replace mop heads as needed to maintain their effectiveness.
- Sponge and Steam Mops: Sponge mops work well for large areas but may struggle with tight corners and grouted seams. Steam mops use heated steam to clean and are effective on concrete and epoxy floors but may not be suitable for all floor types due to moisture concerns.
To maintain the cleanliness and safety of both customers and employees, it’s important to select the right mop for your needs and adhere to best practices for mop maintenance. This includes using a two-bucket system for rinsing, ensuring complete drying to prevent bacterial growth, and storing mops properly to avoid contamination.
Daily Maintenance Practices for Mop Care
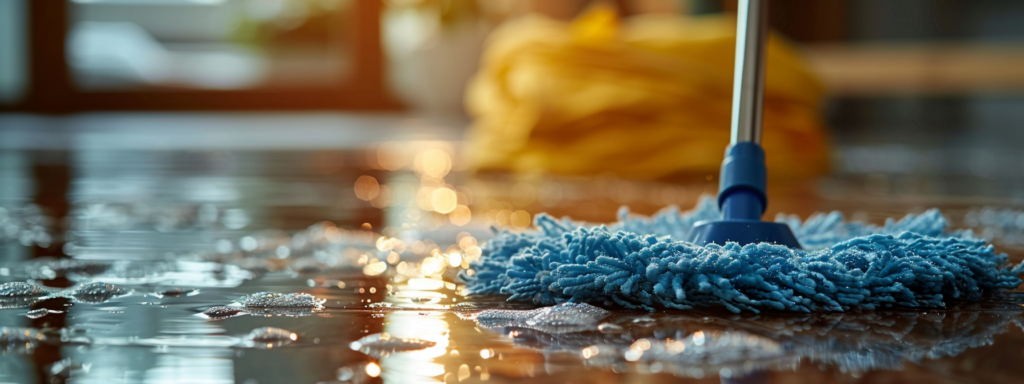
Maintaining your mop on a daily basis is essential for extending its lifespan and enhancing its cleaning effectiveness. Here’s a summary of the key practices you should incorporate into your routine:
- Rinsing: After each use, it’s important to thoroughly rinse your mop to remove dirt, debris, and cleaning solution residues. This step is important in preventing the spread of dirt and bacteria across surfaces during subsequent cleanings.
- Wringing: Properly wringing out your mop not only helps in the effective removal of dirt and contaminants but also aids in the drying process by eliminating excess water. This is important for reducing the risk of mold growth and odors.
- Air-Drying: Allowing your mop to air-dry completely before storing it is vital for preventing bacterial growth and odor development. Mops should be hung up or placed in a well-ventilated area to ensure thorough drying.
- Proper Use and Laundering: Using your mop as intended and adhering to proper laundering practices can significantly impact its maintenance and durability. Microfiber mops, for instance, require specific care, such as laundering with gentle detergent in hot water without bleach, and drying on low heat to avoid damaging the microfibers. For cotton mops, tying the bottoms together before washing can prevent tangling, and hanging them to dry is recommended to ensure they’re ready for the next use.
- Training and Equipment Maintenance: It’s also essential to train cleaning staff on the proper use, application, and maintenance of mops and related equipment. Ensuring that cleaning equipment is in good condition and clean before use can extend the lifespan of the tools and improve cleaning effectiveness. Regular inspection and maintenance of cleaning equipment are important for keeping them in optimal condition.
By following these daily maintenance practices, you not only extend the life of your mops but also maintain a higher standard of cleanliness and hygiene in your environment.
Deep Cleaning Your Mop: A Step-by-Step Guide
Deep cleaning your mop is essential for maintaining its effectiveness in cleaning floors and extending its lifespan. The process varies slightly depending on the type of mop you have. Here’s a general guide that covers various types:
For Cut-End and Looped-End Mops
- After removing visible debris, soak the mop head in a solution of hot water and heavy-duty laundry detergent.
- For disinfection, consider adding a disinfectant or a bleach solution (1/4 cup of bleach per gallon of water) to the hot water, but only for mops that are bleach-safe.
- Rinse thoroughly after soaking for about 10-15 minutes, then wring out and air-dry.
For Microfiber Mops
- Remove the microfiber pad and shake off any debris.
- Machine wash with a mild detergent on a warm cycle. Avoid using fabric softener or bleach as they can damage the fibers and reduce the mop’s effectiveness.
- Tumble dry on low heat or air-dry.
For Sponge Mops
- Rinse the sponge head under running hot water to remove loose dirt.
- Soak in a mixture of hot water and mild detergent or a vinegar solution (1 cup of vinegar per gallon of water) for thorough cleaning.
- Rinse again and squeeze out excess water. Allow it to air-dry completely before storage.
For Spin Mops
- Detach the mop head, if possible, and clear off any solid waste.
- Machine wash on a gentle cycle with a mild detergent or wash by hand in a bucket of hot soapy water.
- Rinse well and spin out excess water in the spin basket. Air-dry before reattaching to the mop handle.
For Steam Mops
- Empty the water reservoir after each use.
- Clean the mop pad after every use by removing it from the mop head and washing it in the washing machine with a mild detergent. Air-dry the pad thoroughly.
- Occasionally, you may need to descale the water tank to remove any build-up. Check the manufacturer’s instructions for the recommended method.
For Electric Mops
- Follow the manufacturer’s guidelines for cleaning and maintenance, as these can vary widely among models.
- Typically, cloth pads can be washed in the washing machine, and any brushes or attachments should be rinsed under hot water and allowed to air-dry.
General Tips:
- Always read and follow the manufacturer’s care instructions for your specific mop type to avoid damage.
- Regularly replace mop heads or pads as needed to ensure the best cleaning results.
- Store mops in a cool, dry place with the head hanging or standing upright to prevent mold and mildew growth.
By maintaining a regular cleaning and maintenance schedule for your mop, you’ll ensure that your floors are not only cleaner but that your mop remains effective and hygienic for future use.
Proper Storage Solutions for Mops
Ensuring your mops are stored properly is important for maintaining their longevity and effectiveness. Here are some storage solutions, to help prevent damage and odor build-up:
Cabinet and Closet Storage
- Dedicated Cabinet Space: Allocate a specific cabinet in your laundry or utility room for mops and brooms, using hooks or brackets inside for hanging.
- Door-Mounted Organizers: Utilize the back of cabinet or closet doors with organizers that feature hooks or clips for hanging mops and brooms, optimizing space and keeping tools out of sight.
- Slide-Out Organizers: These are great for easy access and can be installed with slots or hooks to hold your tools, especially in smaller spaces.
- Closet Rods and Hooks: Install these in a closet to hang your mops and brooms, ensuring they stay organized and tucked away.
Floor Stand Storage Alternatives
- Freestanding Mop and Broom Holders: These holders provide upright storage and are portable, making them easy to move and place in convenient locations.
- Mop and Broom Racks: Offer slots or hooks for mops and brooms and compartments for additional cleaning supplies, providing an all-in-one storage solution.
- Mop and Broom Caddies: These portable caddies can hold mops and brooms upright and include compartments for storing additional accessories.
- DIY PVC Pipe Holder: For a custom storage solution, create a holder using PVC pipes to fit your specific needs and available space.
Tips for Effective Mop and Broom Storage
- Ensure mops and brooms are clean and dry before storage to avoid mold and odors.
- Separate bristles of different tools to prevent tangling and damage.
- Secure handles in a way that keeps mops and brooms upright, utilizing hooks, clips, or slots.
- Organize tools by function for easier access and a tidier storage area.
Maintain proper ventilation in the storage area to prevent moisture buildup, which can lead to mold or damage to your cleaning tools. Regularly inspect and replace your mops and brooms to ensure they remain effective for cleaning.
By implementing these storage solutions and tips, you can ensure your mops and brooms are stored properly, extending their lifespan and maintaining their cleaning effectiveness. Whether you choose cabinet and closet storage for a more concealed approach or floor stand alternatives for convenience and portability, the key is to keep your cleaning tools organized, accessible, and in good condition. Remember, the way you store your cleaning tools can greatly impact their usability and the overall tidiness of your space.

When to Replace Your Mop: Recognizing the Right Time
Replace your mop when it shows signs of wear and tear or a reduction in cleaning effectiveness. A well-maintained mop is essential for keeping your floors clean and hygienic. Over time, all mops will inevitably show signs of wear that can impact their cleaning performance. Here are specific indicators to watch for, signaling it’s time for a replacement:
- Loss of Absorbency: If your mop no longer picks up liquid efficiently or leaves behind more moisture than it should, its absorbency has likely diminished.
- Frayed Fibers: Similar to old toothbrush bristles, worn or disfigured mop fibers can’t clean effectively. If you notice fraying or the mop head starts to look disheveled, it’s time for a new one.
- Unpleasant Odors: A mop that retains a bad smell despite thorough washing harbors bacteria and needs to be replaced to maintain a hygienic environment.
- Visible Stains or Discoloration: Stains that persist after cleaning suggest the mop is holding onto grime, which could transfer back onto clean floors.
- Parts Falling Off: When pieces of the mop head begin to come off during use or cleaning, it indicates the mop is breaking down and is no longer effective.
Responsible Disposal and Replacement
When replacing your mop, consider recycling the old one if possible. Many recycling centers accept old mops, especially if they’re made of recyclable materials. Additionally, look for eco-friendly mop options to reduce environmental impact when purchasing a new one.
Regularly inspecting your mop for these signs and acting promptly to replace it when needed ensures your cleaning efforts are as effective as possible, maintaining a clean and healthy living space. Remember, maintaining your mop’s condition through proper cleaning and storage can extend its lifespan, but no mop lasts forever. Transitioning to a new mop when the time comes is essential for ongoing home maintenance and hygiene.
Essential Mop Maintenance for a Clean Home
Adhering to the strategies outlined, including choosing the right mop for your flooring, cleaning and drying your mop after each use, storing it correctly, and recognizing when it’s time for a replacement, you can significantly extend the life of your mop and improve your home’s cleanliness.
Effective mop maintenance, including regular cleaning, proper storage, and timely replacement, is important for pristine floors and a hygienic home environment.
FAQ Section
Q: How often should I clean my mop?
A: Clean your mop after every use to prevent the spread of dirt and bacteria. Rinse it thoroughly and let it air dry completely before storing.
Q: What’s the best way to store a mop to avoid mold and bad odors?
A: Store your mop in a dry, well-ventilated area. Hang it up or stand it on its handle to allow air circulation and prevent mold growth and unpleasant odors.
Q: When should I replace my mop head?
A: Replace your mop head if you notice it’s less effective at cleaning, if it has a persistent bad odor, or if the fibers are frayed or falling out. Typically, mop heads should be replaced every 3-6 months, depending on usage.
Q: Can I wash my mop head in the washing machine?
A: Yes, many mop heads, especially microfiber ones, can be washed in the washing machine. Avoid using bleach or fabric softeners to prolong their life and effectiveness.
Q: How can I dispose of my old mop environmentally responsibly?
A: Check if your local recycling program accepts mop heads or handles. If not, consider repurposing the mop handle or researching eco-friendly mop options that are biodegradable or made from sustainable materials.
By following these mop maintenance and care tips, you’ll not only achieve cleaner floors but also contribute to a healthier, more hygienic home environment. Remember, a well-maintained mop is a powerful tool in your cleaning arsenal.
Author
-

As the Co-Owner of Masterful, Randy has been providing quality cleaning services to the Salem and Portland areas of Oregon for many years. He has built a reputation for excellence in the industry. His team take prides in using the latest cleaning techniques and technologies to deliver exceptional results every time.
View all posts
